Think your cat’s food bowl is harmless? Think again. A good feeding station keeps kibble dry, cuts down on midnight raccoon visits, controls portions, and makes cleanup a breeze , a mini dining room for your cat. Ever watched your kitty sniff the air like a food critic? It’s kind of adorable.
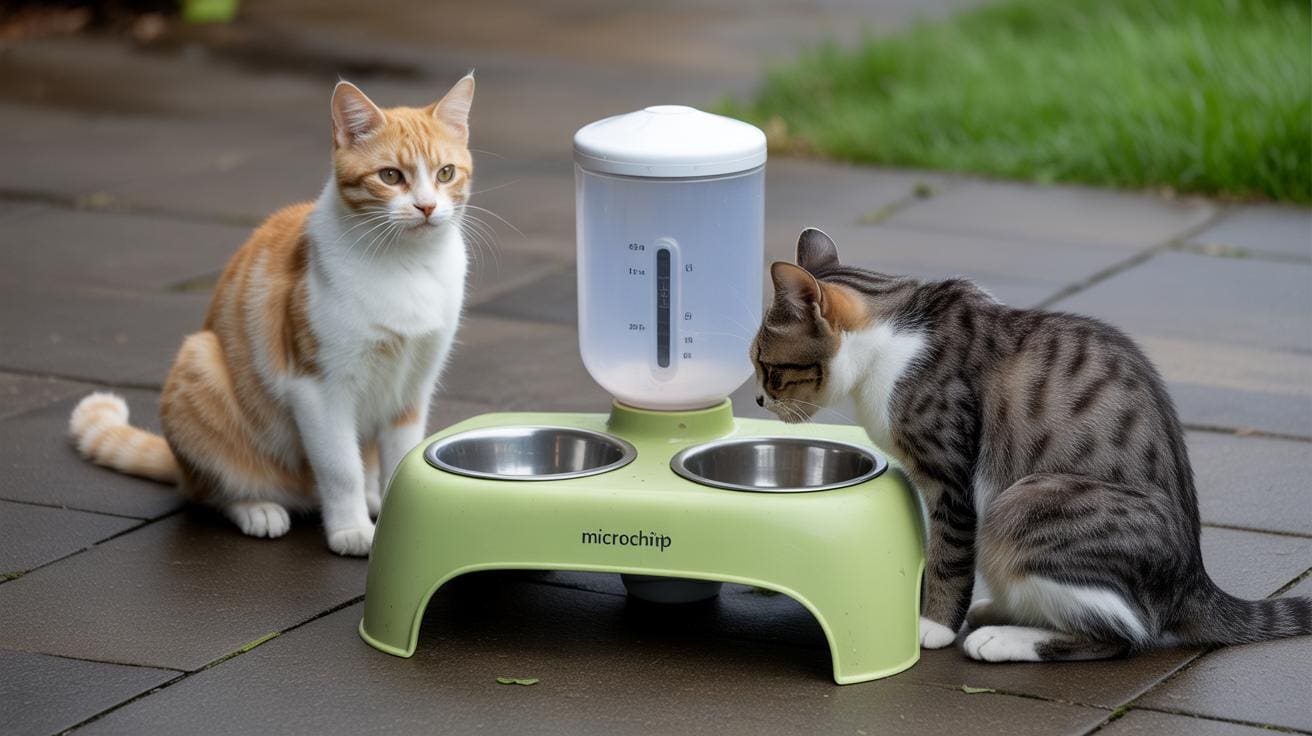
Let’s compare a few styles. Wooden units (wood, like sturdy furniture-grade material) look nice and hide messes, but they can be heavy. Enclosed shelters with a microchip option (microchip, a tiny pet ID chip that lets only your cat in) stop nosy critters and picky housemates. Portable DIY options (easy to carry or build at home) are great if you move things around or want something cheap and replaceable.
Keep safety simple. Put bowls on raised platforms (keeps food off damp floors), use ground anchors (stakes or ties that stop tipping or dragging), measure meals with portion scoops, and pick washable non-porous bowls (smooth, won’t soak up bacteria). Do that and mealtime stays tidy, safe, and stress-free. Worth every paw-print.
Cat Feeding Stations: Designs and Safety Tips
A cat feeding station is a little sheltered spot that keeps food dry from rain and wind, helps you control portions, keeps out unwanted visitors, and makes cleanup easier. Think of it as a tiny dining room for your cat, no soggy kibble, no surprise wildlife buffet, and less mess on the porch. Ever watch your cat sniff the air like a food critic? This helps.
Action-first: if your yard has big predators, go with an elevated unit (a raised platform that keeps bowls off the ground). Where raccoons or opossums are common, pick an enclosed shelter with a small entry or a microchip-activated flap (microchip = the pet ID chip that can open the door for your cat only). For short-term needs, a portable DIY tote or a folding-table shelter works great and packs away when you don’t need it.
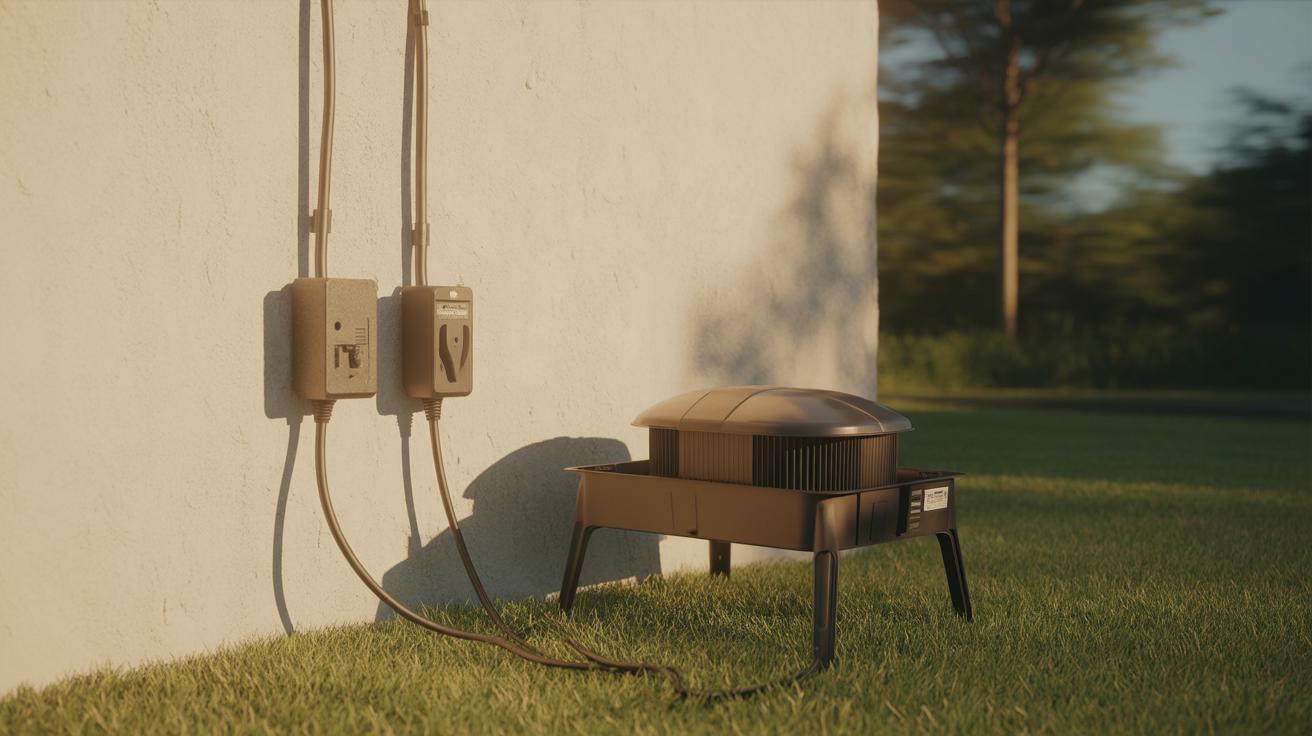
For safety, serve scheduled, measured meals to cut down on nighttime wildlife visits, small portions, set times, fewer midnight scavengers. Add weight or use ground anchors (stakes or screw-in anchors that hold things down) so the station won’t tip or get carried off. Keep dry food locked in sealed containers so critters and moisture can’t get at it.
Quick feeder tips: use washable, non-porous bowls (non-porous means they won’t soak up smells or germs) with removable inserts so cleanup is fast. Stainless steel or ceramic work well and they don’t hold odors. Little things like that save you time and keep food fresher.
If you want the research numbers and tradeoffs, check the Pest/Wildlife and Multi-cat sections for more detail. Worth every paw-print.
Design families and a single comparison table for cat feeding stations
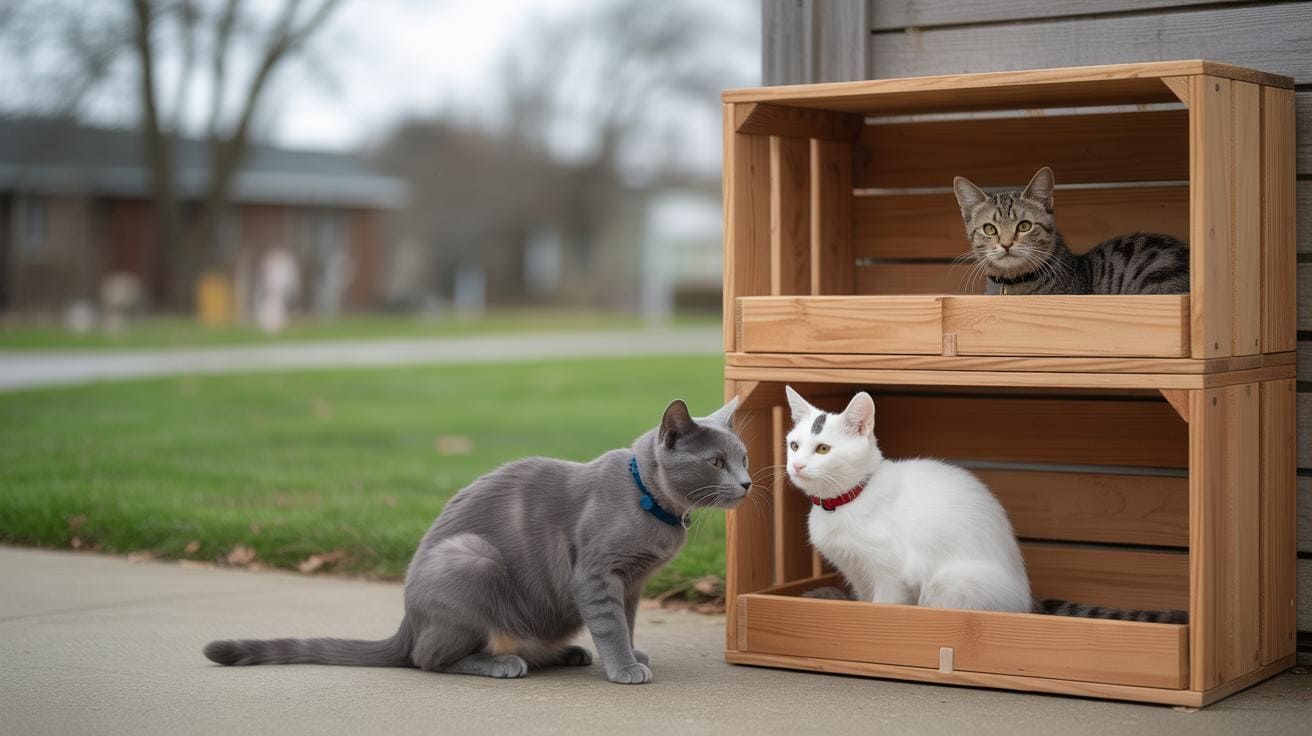
Feeding stations usually land in three simple groups: wooden/cedar units, enclosed shelters (some with microchip-activated flaps), and portable budget or DIY options like plastic totes, folding-table shelters, or gravity-feeder platforms. This quick guide helps you match cost, how permanent it is, and how much wildlife it keeps out so you can choose faster. Think of it as a friendly nudge toward the style that fits your yard, schedule, and feline crew.
The table below is a short cheat-sheet: pick wooden for looks and permanence, choose enclosed shelters for selectivity and weather protection, or go DIY for low cost and easy moving.
Wooden / cedar feeding stations
Cedar units look lovely in a yard and feel solid under paw. Cedar (aromatic, rot-resistant wood) naturally resists decay and gives a nice smell, and builders usually use rustproof fasteners like stainless steel (an iron alloy that resists rust). Prices run mid to high depending on size and finish. Great for homeowners who want something that blends with the landscape and lasts a long time.
Enclosed feeding shelters and microchip access
Enclosed shelters have small-entry designs and optional microchip-activated flaps (microchip = the pet ID chip many pets already have). Those small openings and chip doors keep out raccoons and other visitors while keeping food dry. They’re a favorite for city cat groups, rescues, or anyone feeding multiple cats and needing controlled access. Pair with a weatherproof roof and some insulation and your bowls stay cozy even in nasty weather.
Portable and budget DIY builds
Budget builds include Rubbermaid-style plastic totes (plastic tote = inexpensive hard plastic), folding-table shelters that pop up fast, and gravity-feeder platforms that sit on a small table. These are cheap, light, and easy to move, perfect for short-term feeding, lost-cat stakeouts, or when you’re trying out a spot. They’re usually less durable and less hidden than purpose-built units, but they get the job done.
Materials & finishes (quick notes)
Use low-VOC sealers (low-VOC = paints or sealers with fewer volatile compounds) and non-toxic paints so fumes won’t bother cats. Pick rustproof stainless hardware and weather-rated fasteners for joints, and avoid interior finishes that chip or flake. Basic waterproofing goes a long way: raise the base so wood stays off wet ground, add a sloped roof to shed rain, and use removable inserts for easy cleaning. These small choices keep food dry, reduce mold, and make maintenance faster. Worth every paw-print.
| Design Type | Typical Cost Range | Wildlife Resistance | Best Use |
|---|---|---|---|
| Wooden / Cedar | $200–$800+ | Moderate | Permanent yard setup, blends with landscaping |
| Enclosed shelters (microchip options) | $150–$600 | High (with small entry or chip flap) | Urban clusters, rescues, multi-cat control |
| Portable / DIY (totes, folding tables) | $10–$100 | Low to Moderate | Short-term use, lost-cat searches, tight budgets |
| Built-in pet feeder cabinet | $300–$1,000 | Moderate | Indoor or sheltered porch, integrated storage |
Materials, finishes, and waterproofing (consolidated under Designs)
We moved material and finish notes into Designs -> H3 Materials & Finishes so the pros and cons, pet-safe finish picks, and waterproofing basics live in one place. That way we don’t repeat info and you can find testing tips in one spot.
-
Wood – cedar (a rot-resistant wood with a noticeable scent; mid to high cost; needs a sealant). Cedar smells nice, and it helps keep pests away. Add a light sealer and it will last longer. My cat can’t resist rubbing against cedar posts.
-
Plastic – hard polymer (a tough, moldable plastic made from long-chain molecules; lightweight and low-cost; can fade in strong sun). Great for easy-clean feeders and toys. Just know UV can dull the color over time.
-
Metal – stainless steel (an iron alloy with chromium that resists rust; very durable; use marine-grade near the coast). Sturdy and sleek. Near salt spray, pick marine-grade metal to avoid corrosion.
Finish picks: go water-based and low-VOC. Water-based polyurethane (a clear, low-odor protective coat) or acrylic sealers give protection without heavy fumes. Cleaner smell. Safer for curious noses and paws.
Simple waterproofing tips:
- Flashing at roof seams (thin metal strips that keep water out). Cheap, quick, and very effective.
- Exterior-grade caulk for joints (sealant that stays flexible outdoors). A single bead seals gaps and stops leaks.
- Short gravel/drainage pads under raised bases (a shallow rock bed to lift wood off wet soil). Helps wood stay dry and keeps pests away. For busy days, a gravel pad is an easy one-time fix.
Want details and testing notes? See Designs -> H3 Materials & Finishes for the full quick-notes and testing tips.
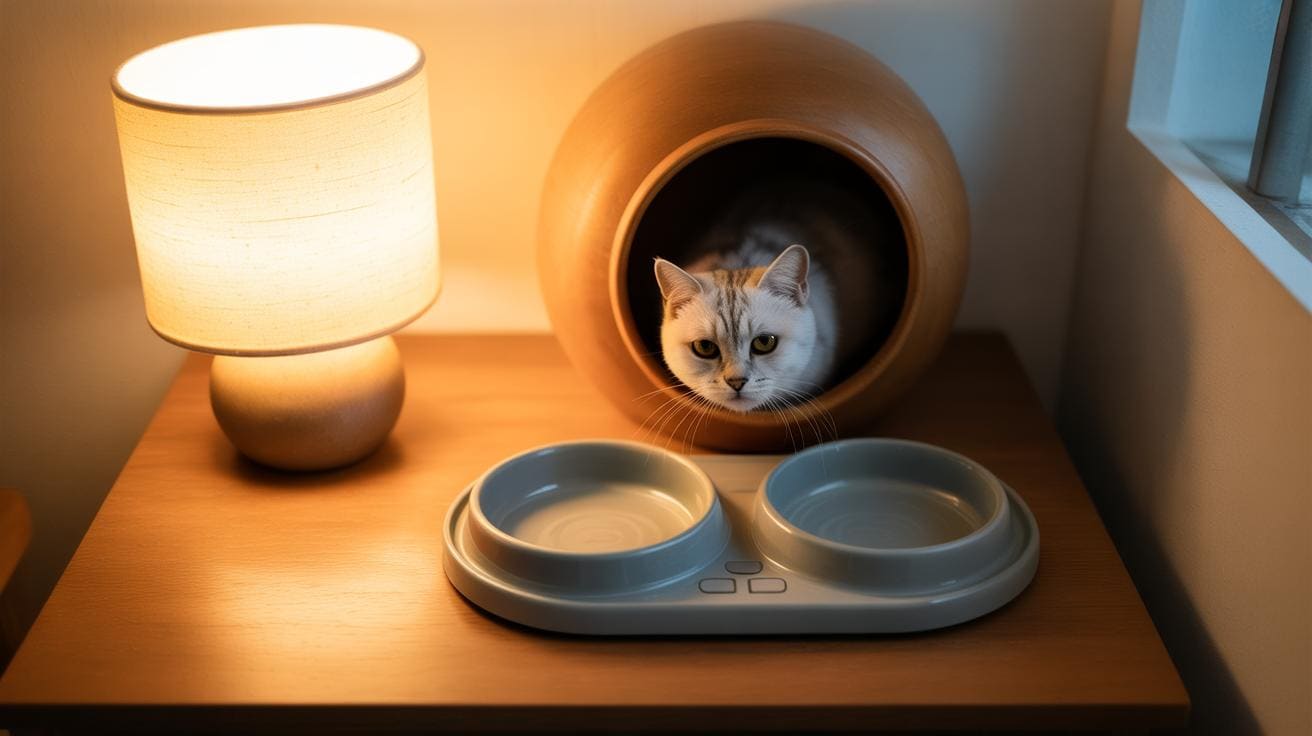
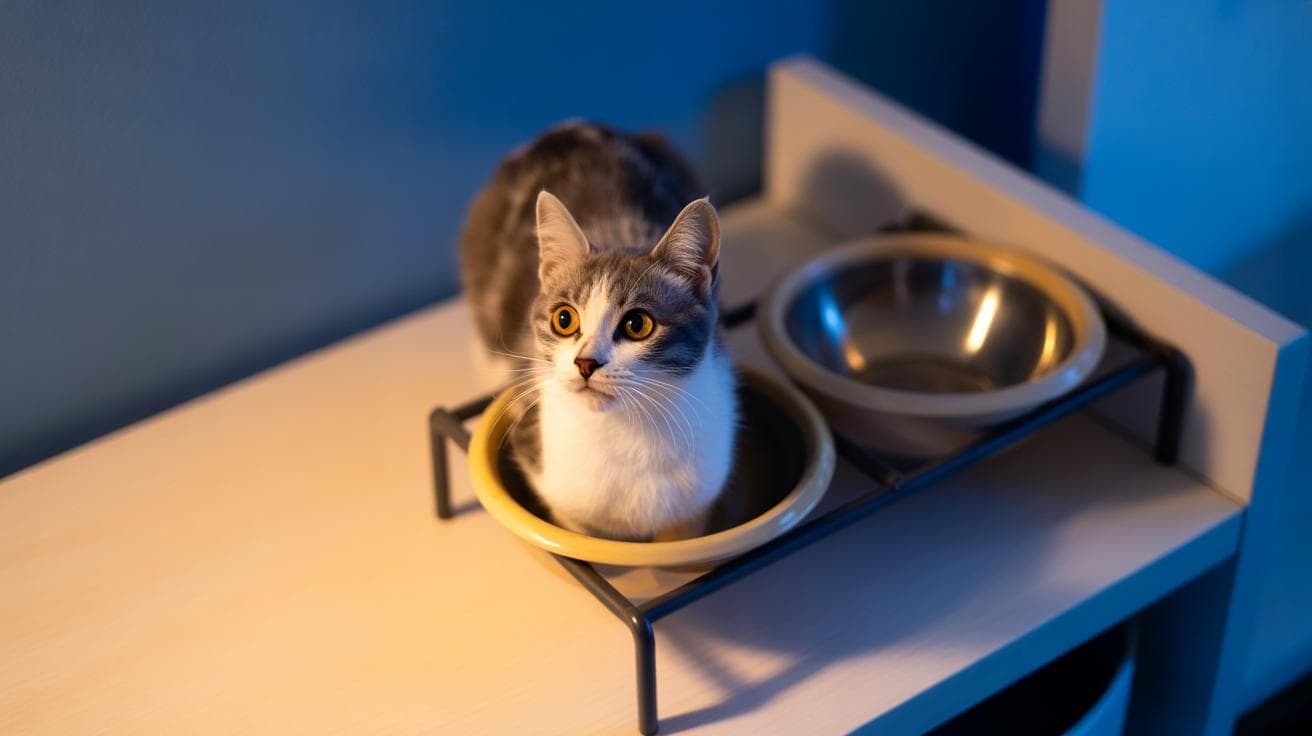
Ergonomic feeding station setup: bowl selection and height guidance

Measure from the floor up to your cat's shoulder, then add a couple inches for comfort. That simple trick gets the bowl at a natural reach so your cat does not have to bend too far. Small cats usually like bowls raised about 4 to 6 inches, medium cats about 6 to 8 inches, and large or senior cats about 8 to 10 inches. For arthritic kitties or very tall breeds, nudge the bowl a bit higher so they do not stoop; elevated bowls help the neck relax and make meals less of a stretch.
Ever watched your cat eat with a hunched back? Not fun. Raising the bowl slightly can turn mealtime into a relaxed, dignified moment, less strain on the neck and shoulders, and fewer awkward paw adjustments. It helps digestion too, oddly enough.
Pick shallow, wide dishes to cut down on whisker fatigue; think plates rather than deep cups. Whisker fatigue happens when whiskers keep brushing hard sides, and that can make your cat fussy or stressed. Look for whisker-friendly designs with low walls and wide rims so whiskers can spread comfortably. Removable inserts are great, you can swap sizes or clean easily without rebuilding the whole station.
Material matters for durability and cleaning. Stainless steel (an iron alloy with chromium that resists rust) is tough and usually dishwasher-safe. Ceramic (fired clay with a glassy glaze) is heavy and stable, so it stays put. BPA-free plastic (plastic made without a chemical called BPA) is lightweight and budget-friendly, though it may scratch over time. Choose anti-skid bases or a spillproof tray to catch messes, and go for dishwasher-safe, removable inserts so cleanup is fast and your elevated feeding station stays tidy. Worth every paw-print.
Multi-cat feeding station layouts, portion control, and monitoring
Give each cat a little nook when you can. Quiet spots help nervous eaters relax, and they stop the bold ones from bossing the buffet. Multi-bowl islands work great if floor space is tight. Just space the bowls so whiskers don’t mash together.
Try staggered timing if mealtime gets rowdy. Feed one or two cats first, then open access to the rest so the food guarding cools down. Little tweaks like that cut hissy fits and make dinners calmer and faster. Worth every paw-print.
Tech can save the day in tense homes. Microchip-activated feeders (microchip means the pet ID chip that tells a chip-reading flap to open) let only the right cat in. Timed dispensers (units that release measured portions on a schedule) and portion bowls (bowls set for single servings) keep calories in check and stop one greedy cat from eating everyone’s share. Mix methods: ID control for who can eat, timers for exact portions, and shallow, wide bowls so whiskers stay comfy.
Watch and count. Cameras are handy to learn who shows up and when, just like the study used. If you leave big piles of food out, you can get a decent head count in about 3-5 days. With small measured meals on a schedule it takes longer, about 8-11 days, to see who really came by. That matters when you’re tracking a lost cat or sizing up a colony.
Bring cats along slowly. Start with supervised trials so each cat learns the routine, then open short, staged access windows before full freedom. Let them sniff a new feeder, swap a towel with a familiar scent, and do a few dry runs while you watch. Calm introductions cut stress. Speaking of towels, my cat once decided the towel smelled like victory, um, and claimed the whole station for a week.
If one cat still guards, split locations for a while and use cameras to check who tolerates whom. Small changes, patient steps, and a bit of tech make feeding time peaceful. Isn’t it nice when everyone can eat without a drama?