How to Clean and Sanitize Unbreakable Cat Toys

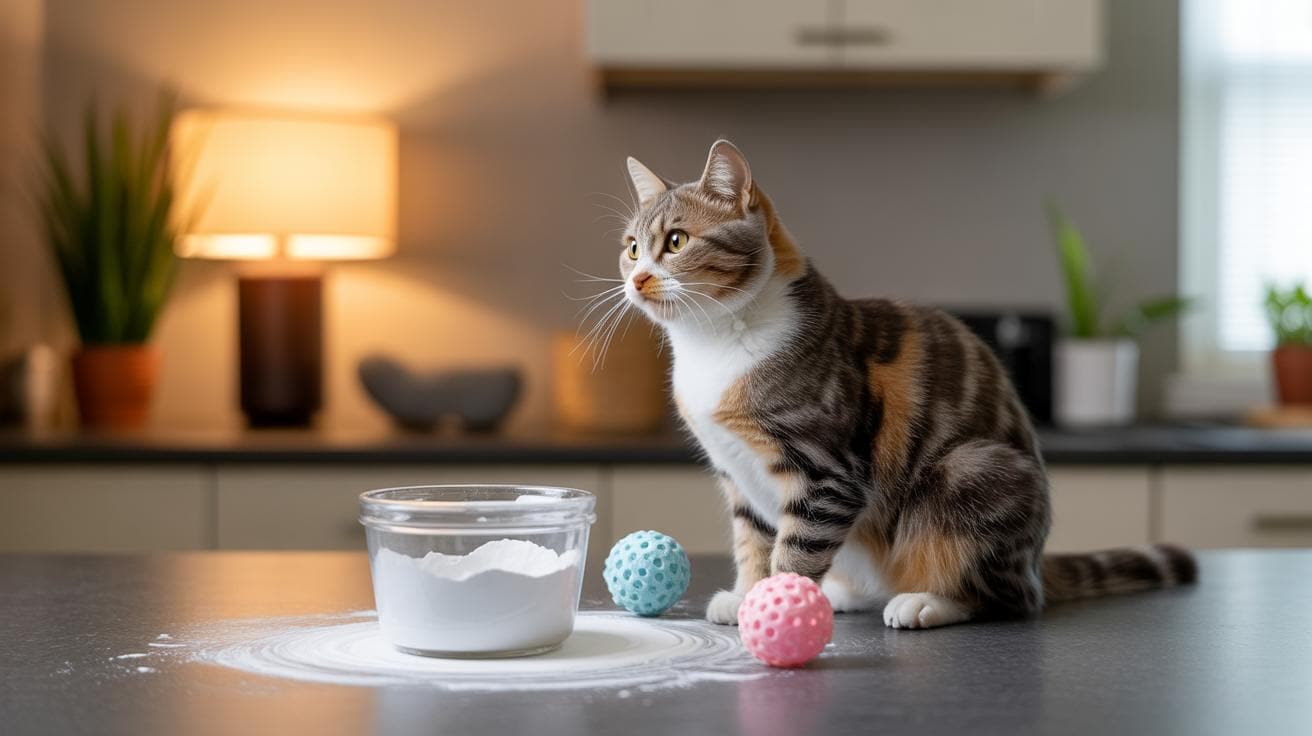
Think your cat's unbreakable toys are clean? A safety study put pet toys in the top 10 dirtiest household items, so that favorite mouse might be hosting Salmonella or Staph (bacteria that can make people or pets sick).

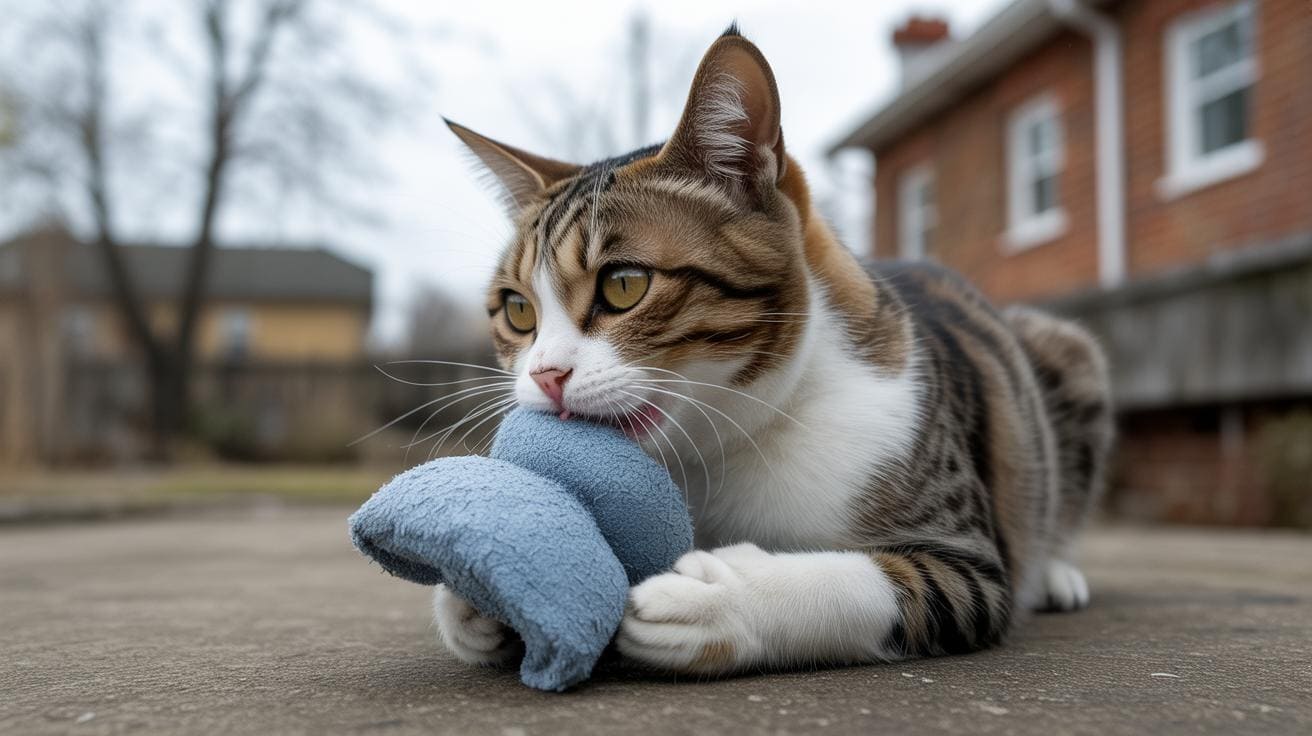
Saliva, drool, dirt, and germs love to camp out on plush (soft fabric) and hard toys (plastic or rubber). Ever watched your kitty bury her nose in a toy and come up with damp whiskers? Yeah, it’s cozy for them and kind of gross for everyone else.

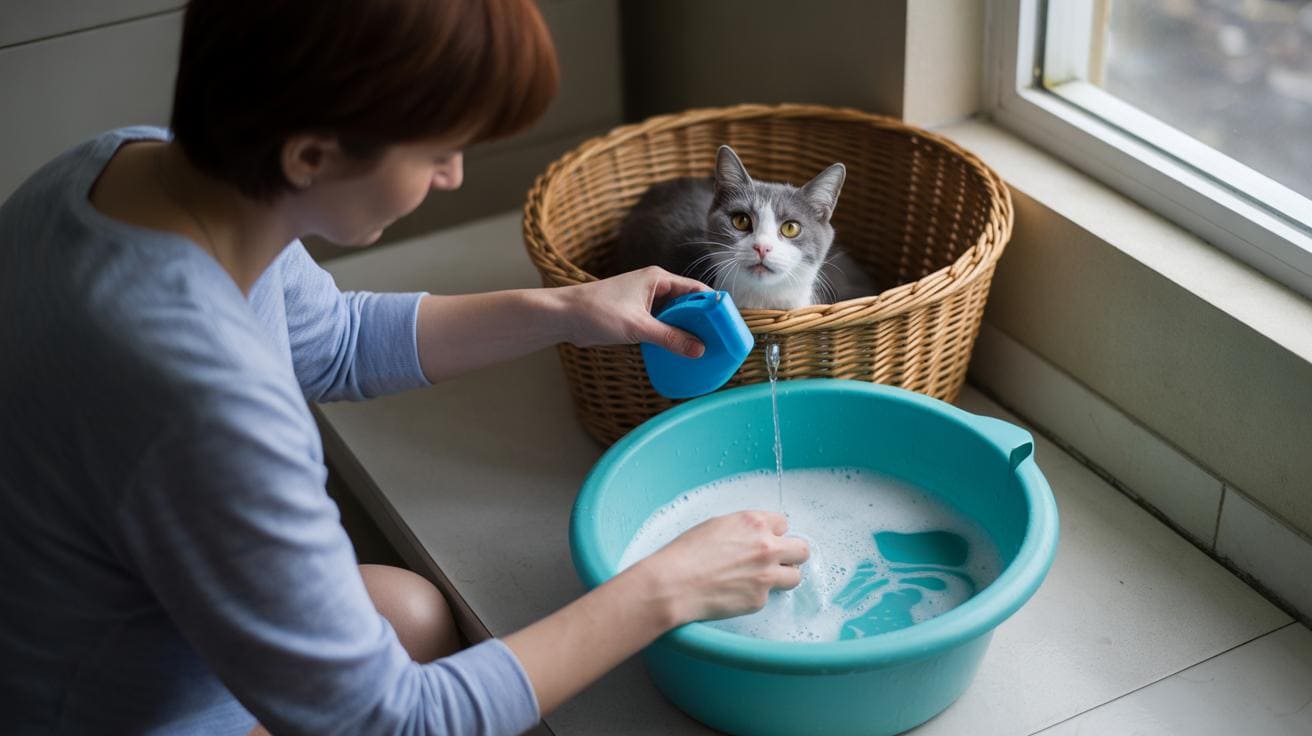
Here’s a quick, safe guide to get playtime back fast. Use mild soap and warm water for most toys. Vinegar (white distilled vinegar) cleans well for surface grime. A tiny bleach mix (very diluted chlorine bleach) can disinfect cloth toys once in a while , rinse well. Or try an enzyme cleaner (liquid that breaks down protein stains like dried drool) for smelly, sticky spots. For battery-powered toys, remove batteries (AA or button cells) before washing and never soak the electronics.

Easy routines make this painless. Wipe down hard toys after a few uses. Toss washable plush into a gentle machine wash or hand wash weekly, then air dry. Spot-clean messes right away. Check seams and stuffing so you’re not giving your cat a ripped surprise. Worth the five minutes.

How to Clean and Sanitize Unbreakable Cat Toys

- Quick step-by-step routine (canonical actionable routine).jpg

Toys get slimy fast. Saliva, drool, dirt, and germs love to camp out on your cat’s favorite playthings. A safety study even put pet toys among the top 10 dirtiest household items, so a quick cleaning habit really helps cut risks like Salmonella or Staph. Ready? Let’s get you back to playtime fast.

What you’ll need:

  • Mild dish soap.
  • White vinegar or apple cider vinegar (ACV).
  • Household bleach for rare, careful use.
  • Baking soda.
  • Enzyme cleaner (breaks down protein stains like dried drool).
  • Scrub brushes and interdental brushes (tiny brushes for seams and holes).
  • Sink or basin with hot water.
  • Drying rack or towel.
  • Labels for rotation and a pen.
  • Mesh bag for small parts and detachable pieces.

Safety and maker notes: Check the toy label or the manufacturer’s guidance before using heat, like dishwashers, boiling, or steam. Remove batteries and electronics before any wet cleaning. If your cat is sick, swap toys out right away and keep used toys separated until they’re completely dry.

  1. Clear a clean workspace and gather supplies. Make it easy to rinse and dry.
  2. Sort toys by material. Keep plush separate from nonporous items (nonporous means no tiny holes, like hard plastic or rubber).
  3. Take out batteries and electronics. Put small parts in a mesh bag so nothing goes missing.
  4. Give toys a quick pre-rinse to wash off loose debris and drool.
  5. Pick a cleaner from the list below and mix a fresh solution right before you use it:
    • Mild dish soap , 1 to 2 teaspoons per gallon of hot water; soak 30 minutes; rinse until no suds.
    • Vinegar , mix 1 part white vinegar to 1 part water (or about 1 cup ACV in the sink); soak 10 to 30 minutes; rinse until no vinegar smell.
    • Bleach (use sparingly) , 1 tablespoon household bleach per quart of water (about 1:64); let contact for 1 to 5 minutes; rinse thoroughly.
  6. For hard, nonporous toys choose one: a hot-soap soak, a short vinegar soak, or a brief bleach dip if the toy is bleach-safe.
  7. Scrub seams, crevices, textured nubs, and seam lines with the brushes. Those tiny spots hide the worst gunk.
  8. For stubborn odors or dried drool, rub a baking soda paste on the spot or use an enzyme cleaner. Let it sit a few minutes, then scrub.
  9. Rinse until no visible suds remain and you can’t smell vinegar anymore. That’s your cue.
  10. Air-dry completely. Depending on humidity this can take from 4 hours to over 24 hours. Sunlight helps speed things up.
  11. Inspect each toy for damage: frays, cracks, missing stuffing, or mold. Toss anything that’s compromised.
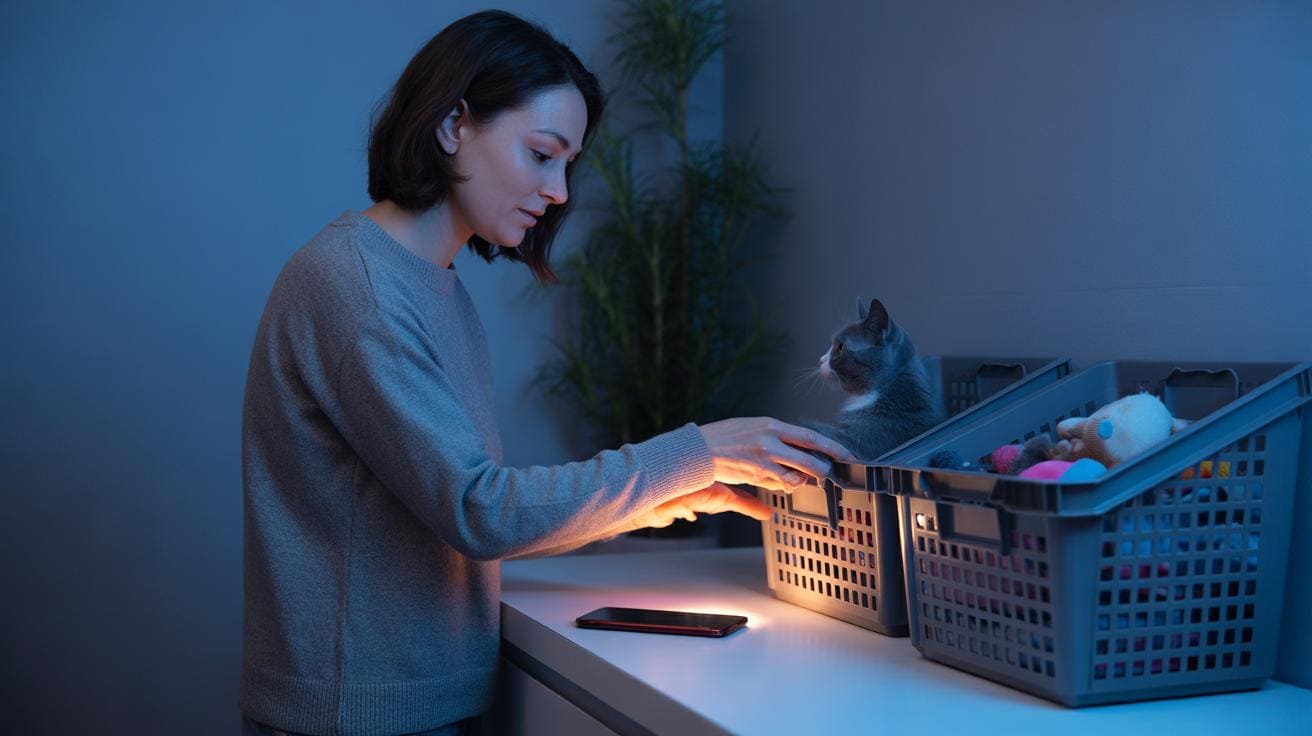
  12. Label and rotate toy sets so you always have a clean batch ready. Simple rotation keeps germs down and playtime fresh.
  13. If a pet was sick, swap toys immediately and replace anything that won’t clean up well.

Rinse cues matter. Keep rinsing until there’s no soap suds and no vinegar smell. Drying can be quick in bright sun or slow in a damp room. Remember that study about toys ranking high for germs when you feel like skipping this quick routine, clean toys, happy paws.

Cleaning methods by material for unbreakable cat toys: rubber, silicone, hard plastic, nylon

- Cleaning methods by material for unbreakable cat toys rubber, silicone, hard plastic, nylon.jpg

Material matters. Pick the right cleanup method and your indestructible toys will last longer, and your cat stays safe. I’m talking simple, doable tips for the stuff you use every day, no lab gear needed. Ever watch your kitty bat a rubber ball across the kitchen and think, "yuck"? This will help.

Rubber

Rubber (dense, flexible polymer) handles warm, soapy water really well. Hand-wash with a stiff brush to get grit out of scratches and grooves. For tiny crevices, use an interdental brush or a bottle brush , those reach where fingers can’t. Check the maker’s instructions before you try the dishwasher, boiling, or steam, because some rubbers warp or soften with heat.

Avoid strong solvents , they can make rubber soft or cracked over time. If the surface feels gummy or warped after cleaning, retire the toy. No regrets. Worth every paw-print.

Silicone

Silicone (flexible, heat-resistant polymer) is usually the easiest to clean. If the label says it’s OK, silicone loves a top-rack dishwasher cycle and can often take brief boiling or steam to loosen gunk in textured grooves. Use a soft-bristled brush or bottle brush so you don’t scratch it.

If you need to treat stains, spot-test hydrogen peroxide or an enzyme cleaner on a hidden spot first. Watch out for glued-on bits or stickers , heat and long soaks can loosen them.

Hard plastic

Hard plastic (various polymers) shows its weak spots at seams and inside tiny chambers, so give those special attention. Use a toothbrush, interdental brushes, or little picks to dislodge trapped kibble and dust. Some hard plastics are fine on the top rack, others will warp, so follow the product’s guidance about dishwasher, boiling, or steam.

Avoid blasting seams with steam if they’re glued , if glue softens or seals fail, replace the piece rather than risk water inside the toy.

Nylon / fabric inserts

Nylon (synthetic fabric) and other fabric inserts usually like machine washing or hot soapy soaks. Toss smaller pieces in a mesh laundry bag and run a warm cycle. Check seams and stuffing for dampness; mold can hide in there if it stays wet.

Dry completely before giving the toy back to your cat. If you see loose threads, glued eyes, or thin adhesives that might loosen with heat, skip the hot wash and hand-clean those spots instead. Next, let it air-dry fully.

For exact rinse times, drying cues, and safe cleaner dilutions, follow your Quick step-by-step checklist and the Safe cleaners table if you have them handy. A little care goes a long way , your cat will notice.

Material Heat tolerance (°F / °C) Dishwasher / Boil / Steam allowed? Recommended mechanical cleaning methods
Rubber (dense, flexible polymer) 140–200 °F / 60–93 °C (varies by type) Sometimes top-rack ok; boiling often not recommended without maker OK; limited steam use Stiff brush, interdental brush, bottle brush, scrub pad
Silicone (flexible, heat-resistant polymer) Up to ~428 °F / 220 °C (usually high heat tolerant) Often top-rack and boil-safe if labeled; steam friendly Soft-bristled brush, bottle brush, steam for textured grooves
Hard plastic (various polymers) 140–212 °F / 60–100 °C (depends on polymer) Top-rack sometimes ok; avoid boiling unless rated; use caution with steam Toothbrush, interdental brushes, picks, cloth-wrapped tools for seams
Nylon / fabric inserts (synthetic fabric) Machine-wash warm; avoid boiling Machine wash ok; not for boiling or heavy steam Mesh laundry bag, washing machine, hand-scrub with soft brush for spots

Safe cleaners and dilutions for unbreakable cat toys

- Safe cleaners and dilutions for unbreakable cat toys.jpg

Keep one go-to list so you don't have to guess while you're scrubbing toys. Use the table below for exact mixes and soak times. For example, use 1 tablespoon bleach per quart of water (about 1:64) for nonporous items.

Cleaner Dilution (exact) Contact time Suitable materials / notes
Mild dish soap 1–2 teaspoons per gallon of hot water Soak 30 minutes Works great on rubber, hard plastic, silicone (a flexible, heat-resistant polymer). Rinse until no suds remain.
White vinegar 1:1 Mix 1 part white vinegar to 1 part water Soak 10–30 minutes Good for deodorizing textured surfaces. Rinse until the vinegar smell is gone.
Apple cider vinegar sink method About 1 cup apple cider vinegar (ACV) in a sink of warm water for small batches Soak 20–30 minutes Handy for smelly plush or mixed loads. Rinse thoroughly to remove residue.
Baking soda paste Mix baking soda (sodium bicarbonate) with just enough water to make a thick paste Let sit a few minutes, then scrub and rinse Gentle abrasive and deodorizer for textured hard surfaces and spots. Good for stubborn grime.
Enzyme cleaner Follow product label (dilute as directed) Follow label contact time (often 5–15 minutes) Best for protein stains like dried saliva or urine. Enzymes break down organic stains; follow label for rinsing.
Hydrogen peroxide (spot test) 3% solution, use undiluted for spot work Hold up to 5 minutes, then rinse Good for stubborn stains on silicone and some plastics. Patch-test first for color change.
Dilute household bleach (conservative) 1 tablespoon bleach (sodium hypochlorite) per quart of water (~1:64) 1–5 minutes contact; rinse thoroughly Only for bleach-safe, nonporous items like hard plastic or sealed silicone. Never use on fabric or porous toys.

Avoid cleaners with essential oils, undiluted harsh chemicals, or sprays that leave a residue your cat might lick. If a cleaner leaves a strong smell, that usually means you need to rinse more. Residue can irritate whisker pads, noses, and skin.

Patch-test anything new on a hidden spot first. Apply a dab to an inside seam, wait five minutes, then check for color or texture change. If it looks and smells normal, you should be good.

Quick rinse and dry checklist:

  • Rinse until no suds and no vinegar smell remain.
  • Air dry completely, or towel dry and let finish in fresh air.
  • Give toys a sniff and a visual check before giving them back to your cat.

Worth every paw-print.

Dishwasher, boiling, and steam cleaning guidance for unbreakable cat toys

- Dishwasher, boiling, and steam cleaning guidance for unbreakable cat toys.jpg

Heat cleaning works great when the toy label says it's okay. Heat kills extra germs and slips into tiny grooves brushes miss, but it can also warp soft rubber or loosen glued bits. Quick check: if a toy has batteries, electronics, glued-on eyes, or fabric inserts, don’t dunk the whole thing.

  • Dishwasher (top-rack hot cycle): take out batteries and any electronics first. Put tiny parts in a mesh bag so they don't tumble into the heater. Only place nonporous toys on the top rack if the maker says it's safe. Run a hot cycle, then let items air-dry on a rack , no stuffing towels into compartments. If a sticker or glue starts to peel afterward, retire that toy.

  • Boiling water sterilization: use this only for items rated for high heat, like silicone (flexible, heat-resistant polymer) or heat-tolerant rubber (rubber that stays firm when hot). Remove parts that aren't rated, then boil for about 3 to 5 minutes. Turn off the heat, lift the toy out carefully, let it cool, and air-dry completely on a rack.

  • Steam cleaning hard toys: use a handheld steam cleaner (a small steam wand that sprays hot vapor) to get into textured grooves and tiny crevices. Keep each pass short , about 15 to 30 seconds per spot , and avoid aiming steam at sealed electronics or glued seams. Let steam-treated toys dry in a well-ventilated spot.

  • Machine wash for fabric inserts: put inserts in a mesh bag, run a warm cycle, then do a vinegar rinse as suggested in the Safe cleaners table. This helps remove odors and mild germs without harsh chemicals.

Always check the toy material heat-tolerance chart in Cleaning methods by material before using any heat, and follow the maker's guidance. Your cat will thank you with a happy pounce.

Troubleshooting: Odors, Stains, Mold & Oils

- Removing odors, stains, mold, and catnip oil from unbreakable cat toys.jpg

Follow the Safe cleaners table for exact dilutions and the Quick checklist for rinse and dry cues. Below are quick, hands-on fixes that fill in gaps not covered elsewhere. Short, simple, and practical, like a tip from a fellow cat person.

  • Baking-soda paste for nooks and nubs. Mix baking soda (a mild abrasive and deodorizer) with a little water until it’s a thick paste. Push it into textured grooves with an old toothbrush, let it sit a few minutes so it lifts smells, then rinse until the suds are gone and dry. Example: "Mix baking soda with a little water to a thick paste, rub into tiny valleys with an old toothbrush, rinse until suds are gone."

  • Enzyme cleaners, hydrogen peroxide, and timing. Check the Safe cleaners table for enzyme (breaks down organic stains) and bleach (chlorine cleaner) dilutions, and use the Quick checklist for contact time and drying steps. Patch-test hydrogen peroxide (an oxidizing stain remover) on silicone (flexible, rubber-like material) before you treat a whole toy. Example: "Follow label times , 'Soak 10–15 minutes for enzymes, rinse until water runs clear.'"

  • Use bleach carefully and only when safe. Only dip items labeled as bleach-safe nonporous (no tiny holes that trap moisture) and keep the dip short and conservative. Rinse thoroughly and then sun-dry so UV and heat help kill lingering microbes. Example: "Dip briefly in the recommended dilution, rinse several times, then leave in full sun for a few hours."

  • Grease, catnip oil, and other oily messes. Start with a hot, soapy soak, then follow with an enzyme soak or a gentle degreaser (a cleaner that breaks up oils without harsh chemicals). Scrub the oily spots, rinse, and then sun-dry for several hours to help lift oils and fade smells. Example: "Soak in hot, soapy water, add an enzyme cleaner, scrub with a stiff brush, then sun-dry 4+ hours."

  • When to toss a toy. If an item keeps smelling after repeated cleanings, if mold comes back, or if the toy shows structural damage, throw it away. If your pet was sick, don’t wait, follow the Quick checklist immediate-swap-after-illness step right away. Worth every paw-print.

Cleaning tricky parts of unbreakable cat toys: seams, squeakers, crevices and electronics

- Cleaning tricky parts of unbreakable cat toys seams, squeakers, crevices and electronics.jpg

Heads-up: this page no longer repeats full cleaning instructions. The most useful, hands-on tips were moved into other sections , Quick step-by-step checklist, Cleaning methods by material (hard plastic / rubber), Dishwasher/Steam guidance, Safety and maker notes, and Troubleshooting. Below I pulled out the extra-tricky bits so you can find them fast. You’ll still want to read those sections for full routines and product-specific notes.

Tricky parts (short, go-to fixes)

  • Dry-brush first to loosen crusty bits. Think of a stiff toothbrush or small scrub brush: brush the seam until the crunchy stuff drops out. Your cat will notice the difference.
  • Use interdental brushes (tiny brushes for between teeth) or a cloth-wrapped pick for tight grooves. Wrap a cotton square around a toothpick or pick and gently poke-and-pull to get gunk out without scratching.
  • Try short steam passes , 15 to 30 seconds , on textured grooves to soften buildup, then brush. Hold a handheld steamer (a small device that shoots hot steam) about an inch away for 20 seconds, then scrub with a toothbrush.
  • For spot treatments, cross-check the Safe cleaners table for which cleaners to use and when to rinse. I’m not repeating dilutions here so the master table stays authoritative.

Detachable bits and sealed squeakers

  • Take off any small, removable pieces before washing and keep them in a mesh bag (a laundry-style mesh pouch) so nothing goes missing.
  • Sealed squeakers (little sound modules sealed inside toys) and other sealed bits that can trap water should only be surface-wiped, then left to air-dry for at least 24 hours before you hand them back to your cat. Wet squeakers = sad, soggy noises.

Electronics care , quick safety steps

  1. Remove batteries first and store them dry and labeled so you know which toy they belong to.
  2. Do not immerse electronic housings in water. Ever.
  3. Wipe housings and battery contacts (the metal bits that touch the battery) with a damp cloth and a mild, pet-safe disinfectant , see the Safe cleaners table for options.
  4. Let everything air-dry for at least 24 hours, or use low heat only if the maker says it’s okay, then test before returning to play.

Extras and housekeeping

  • If you’re unsure about a part, check Troubleshooting or Safety and maker notes before trying anything aggressive.
  • The DIY link that used to live here is now in Resources so links aren’t scattered all over the place. Oops, tidy brain moment , much better that way.

Worth every paw-print. Keep these little habits up and those seams and squeakers will stay clean, safe, and ready for pouncing.

How often to clean and when to discard unbreakable cat toys (frequency chart)

- How often to clean and when to discard unbreakable cat toys (frequency chart).jpg

Keep a simple routine so toys stay safe and fun. Clean more often if your cat is a heavy chewer, you have multiple cats, or toys go outside. If a pet gets sick, swap toys right away and follow the Quick step-by-step for immediate-swap-after-illness steps. Ever watched your kitty bury a toy in the yard? Yeah, clean that one fast.

Toy type Clean how often Replace timeline / criteria
Plush (soft fabric stuffed toy) Weekly (machine wash or hot-soap soak) Fraying, loose stuffing, persistent odor after cleaning, visible mold
Rubber chew rings (rubber, dense, flexible polymer) Every 2 weeks or after heavy soiling Deep cracks, gummy surface, missing pieces, persistent smells
Silicone treat dispensers (silicone, flexible, heat-resistant polymer) After every filling session or every 1–2 weeks Warping, torn seals, stuck food that won’t come out
Plastic puzzle feeders (hard plastic, rigid polymer) After each use with food; otherwise every 2 weeks Cracked housing, chips that trap food, repeated odor after cleaning
Teaser wands (wands with attachments) Spot-clean weekly; wash attachments every 1–2 weeks Frayed strings, broken attachments, unsafe loose parts
Squeaker toys (sealed sound module inside) Surface-wipe weekly; isolate if wet or chewed Seal breached, water trapped inside, muffled or broken squeaker
Outdoor toys (exposed to soil and grass) After every outdoor session Persistent dirt or mold, torn material, embedded plant matter
Electronic toys (battery or motorized; batteries or small motors) Surface-wipe after messy play; full clean only after removing electronics Water damage, corroded contacts, exposed wiring, malfunction after cleaning
  • After illness: swap toys immediately. Clean or toss the ones your sick pet used, and keep used toys separate until they’re fully dry. It’s a small thing that helps stop germs fast.
  • Multi-pet homes: shorten cleaning intervals and keep labeled sets for each cat to cut cross-contamination. Label with a simple sticker or color tag so you don’t mix them up.
  • Heavy chewers: inspect weekly. If you see cracks, missing chunks, or a gummy surface, replace the toy right away, safety first.
  • Label and rotate: mark toy sets and rotate them weekly so each set gets a break and a wash cycle. Your cat will love “new” toys more often, too.
  • Keep spares: store a ready-to-go clean set so playtime never has to wait for drying. Worth every paw-print.

For shelters or busy homes, write this schedule on a chart or calendar and track clean/replace dates. A simple log saves time and keeps more cats purring, trust me, it makes busy days way easier.

Storage, rotation and preventing bacterial growth for unbreakable cat toys

- Storage, rotation and preventing bacterial growth for unbreakable cat toys.jpg

Make sure toys are completely dry and aired out before you stash them. Damp toys invite mold and funky smells fast, and no one likes a soggy surprise. Letting things dry first keeps toys lasting longer and noses happier.

  1. Air-dry after cleaning, ideally in the sun to speed things up. Sunlight helps kill some microbes and makes drying faster.
  2. Use breathable storage like canvas bins or plastic containers with vents instead of sealed bags. Sealed bags can trap moisture and cause mildew.
  3. Label toy sets and rotate them weekly so each group gets a rest and a wash. Rotation keeps toys exciting and gives you time to clean.
  4. Keep cat and dog toys separate to avoid cross-contamination; if a toy is shared, wash it between species. Germs like to hitch a ride.
  5. Once a month, give your storage bins a day in the sun and fresh air to cut microbes and freshen smells. It’s a quick reset for the whole stash.
  6. Toss in a couple of silica packs (tiny moisture absorbers) or a small pouch of dry rice to soak up stray damp. They’re cheap and they work.
  7. Skip sealed zip bags for long-term storage; they trap damp and invite mildew to move in. Seriously, don’t bury toys in airtight caves.
  8. Keep a travel-clean kit handy: mild soap, vinegar, a scrub brush, baking soda, and a spare mesh bin (mesh bin is like a laundry bag for toys). Ready for messy moments.
  9. After outdoor play or anything messy, give toys a quick wipe before returning them to rotation. A fast clean prevents problems later.
  10. Swap storage bins seasonally , fabric wears out and smells build up, so fresh bins are cheap insurance.

If you spot any damp spots, scrub that toy right away, rinse and air-dry it fully, and pull the whole set out of rotation until everything is dry. Ever watched your kitty paw at a damp toy? Not cute. Check the Quick step-by-step for drying time guidance so toys aren’t tucked away until they’re truly dry.

Quick cleaning checklist and FAQs for cleaning and sanitizing unbreakable cat toys

- Quick cleaning checklist and FAQs for cleaning and sanitizing unbreakable cat toys.jpg

This is a one-page, printable summary that points you to the full how-to sections: Safe cleaners table, material heat-tolerance chart (which toys handle heat), Dishwasher guidance, Quick step-by-step, and the Electronics section. Use those pages for exact mixes, contact times, and full methods. Nice and handy when you only have a minute before your cat demands playtime.

Print-friendly idea: copy the short checklist below onto a pocket card or print the guide layout. Pocket card example: "Sort by material. Remove electronics. Pre-rinse. Pick cleaner (see Safe cleaners table). Scrub, rinse, air-dry. Quarantine after illness." Stick it in your cleaning caddy.

Checklist

  • Gather supplies. Mild soap, your chosen cleaner from the Safe cleaners table, scrub brushes, a mesh bag for small parts, and a drying rack. Easy stuff, nothing fancy.
  • Sort toys by material: plush/fabric vs nonporous (no tiny holes; wipes clean). Check the material heat-tolerance chart to know what can take hot water or the dryer.
  • Remove batteries and electronics (battery parts, circuits). Put tiny pieces in a mesh bag and follow the Electronics section for safe cleaning and drying.
  • Pre-rinse each toy to wash away drool, kibble crumbs, and dirt. You’ll feel better, and so will your cat.
  • Pick a cleaner from the Safe cleaners table. That table shows exact mixes and how long the cleaner needs to sit on the toy. Follow those times.
  • Soak, scrub, and rinse per the Quick step-by-step and Cleaning methods. Keep it simple: remove gunk, let the cleaner do its job, then rinse well.
  • Air-dry completely before storing. Damp toys breed stuff you don’t want around. Wash toy baskets weekly to cut down on recontamination.
  • If a pet was sick: swap toys right away. Clean or toss anything that was chewed or heavily soiled, and keep cleaned items isolated until they’re fully dry.

A few quick tips

  • For small parts, use a mesh bag so nothing goes missing in the wash.
  • Top-rack dishwasher only if the maker says the toy is dishwasher-safe. Check Dishwasher guidance for details.
  • When in doubt, replace plush toys that stay damp or smell funky. Worth every paw-print to avoid germs.

Top FAQs

Q: Is ACV (apple cider vinegar) safe for toys?
A: Yes, but rinse until you can’t smell it. See the Safe cleaners table for the right mix and rinse notes.

Q: Can I run toys in the dishwasher?
A: Only use the top rack and only if the maker lists the toy as dishwasher-safe. Check Dishwasher guidance before you load up.

Q: What about bleach?
A: Use the conservative mixes and contact times shown in the Safe cleaners table. Follow the rinsing notes carefully so no bleach residue stays on the toy.

Q: How do I clean electronics and battery compartments?
A: Remove batteries first. Wipe per the Electronics section and make sure everything is totally dry before putting batteries back in.

Q: How often should I clean after an illness?
A: Swap toys immediately. Clean or discard affected items and keep cleaned toys apart until they’re completely dry.

Worth the few extra minutes. Your cat will thank you with head bumps and zoomies.

Final Words

In the action, we laid out a single, practical routine: sort toys, remove batteries, pre-rinse, pick a mild soap, vinegar, or a conservative bleach option from the cheatsheet, scrub seams, rinse until no suds or vinegar smell, and air-dry fully. Quick material checks keep heat methods safe.

Keep a small cleaning kit, rotate sets, and swap toys after illness to protect cats and furniture, less replacement, more play.

Follow these steps and you’ll know how to clean and sanitize unbreakable cat toys with confidence. Worth every paw-print.

FAQ

How to clean and sanitize unbreakable cat toys?

Sort toys by material and remove batteries. Pre-rinse to remove loose dirt, then wash with mild soap (or white vinegar if preferred). For strong soiling use a conservative dilute bleach soak only on nonporous items. Scrub seams and crevices, rinse until no suds remain, and air-dry completely before use.

What disinfectant is safe for cats and can I use Dawn to wash cat toys?

Safe options include mild dish soap (like Dawn), white vinegar, enzyme cleaners (to break down protein stains), and a dilute household bleach solution for nonporous items. Always rinse thoroughly and air-dry. Yes, Dawn or similar mild dish soaps are safe when fully rinsed.

How to disinfect toys that can’t be washed?

Remove batteries and any loose parts. Wipe surfaces with a damp cloth plus a pet-safe disinfectant. Use brief steam passes over grooves if available, avoid soaking. Let toys dry fully for 24 hours or more before returning to play.

How to wash cat toys with catnip and remove catnip oil?

Empty loose catnip from the toy. Soak in hot water with mild soap and use an enzyme cleaner or degreaser to tackle catnip oil. Rinse until no suds remain and air-dry. Replace catnip if the scent fades after cleaning.

How to clean fabric cat toys?

Check the label first. Machine-wash warm if allowed; otherwise hand-soak in mild soap or a 1:1 vinegar:water solution. Rinse well, then tumble on low or air-dry. Discard toys with damaged or exposed stuffing.

How to use vinegar to clean unbreakable cat toys?

Use a 1:1 white vinegar to water short soak (about 10–30 minutes) for deodorizing. Rinse until no vinegar smell remains and sun or air-dry. Avoid using vinegar on glued parts or electronics.

Related Articles

Author

  • Lucas Turner

    Lucas Turner is an urban photographer based in Chicago, Illinois, known for his captivating images that highlight the pulse of city life. With a unique perspective, he captures the vibrant contrasts between architecture, people, and the urban environment, telling stories through his lens.

    Outside of photography, Lucas enjoys coffee shop hopping, exploring the diverse cafes around the city. He finds that each coffee shop has its own vibe, offering a perfect setting for creativity to flow. As he often says, “A good cup of coffee and a new view always inspire my best work.”

    Lucas’s photography is a reflection of his love for the city’s energy and the quiet moments found within it.

    View all posts

Similar Posts