how to clean and sanitize unbreakable cat toys

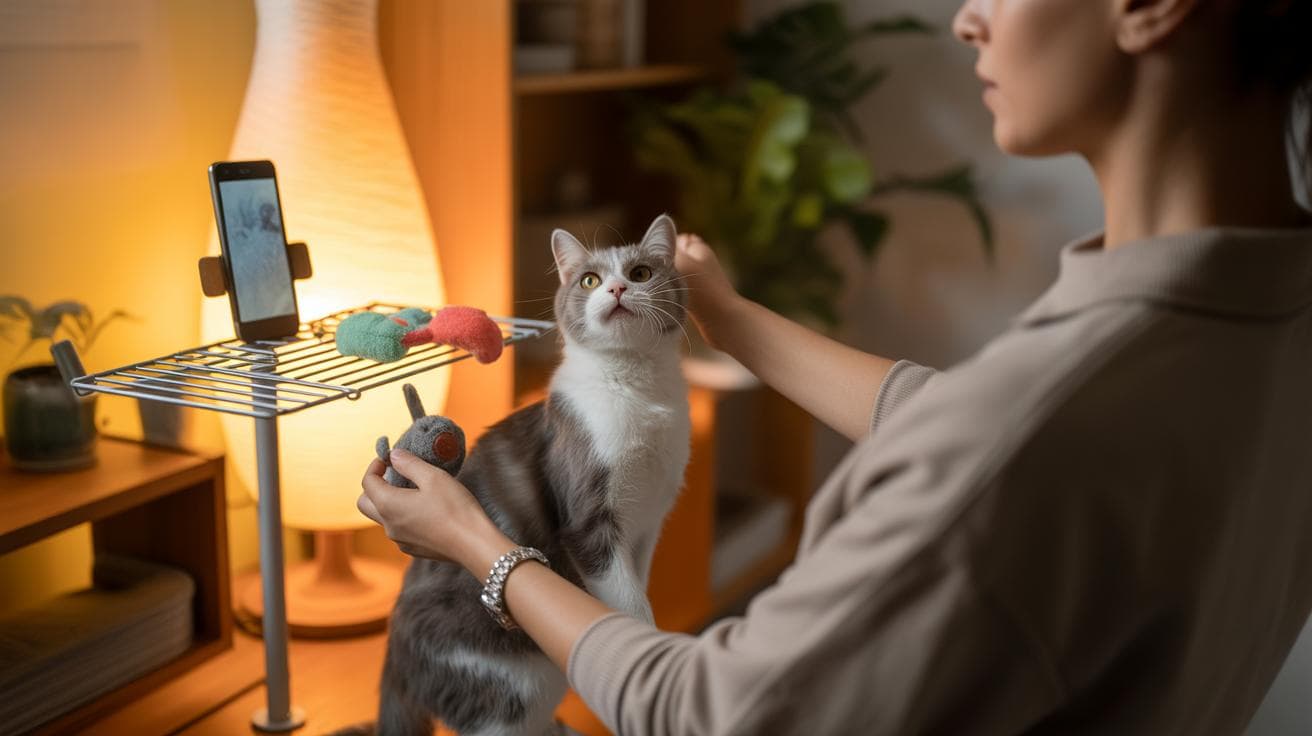
Think your unbreakable cat toys never need cleaning? Nope. Food bits, drool, and mystery gunk sneak into cracks, nooks, and treat chambers. Ever watched your cat poke a treat chamber like it’s a tiny treasure chest? Those little compartments need extra care, trust me.

Quick, simple cleaning steps that actually work. Soak in hot-soap water (hot tap water plus mild dish soap) for 10–15 minutes. For puzzle toys, follow with a vinegar soak (one part white vinegar to three parts water) to cut oils and odors. Scrub crevices with a soft brush, rinse well, and let everything air-dry until fully dry. It’s satisfying when the toys look and smell clean again.

Sort by material so you don’t wreck anything. Rubber (flexible synthetic) and plastic (molded polymer) usually take a warm soak and a good scrub; some are fine on the top rack of the dishwasher, but check the label. Fabric (woven cloth) pieces should be machine-washed or hand-washed on gentle, and toss removable covers in a laundry bag. Treat chambers and tiny holes love a toothbrush or toothpick for digging out the crumbs.

When to trash a toy? If fabric is shredded and stuffing shows, if plastic or rubber is cracked or has sharp edges, or if a smell won’t go away after cleaning, toss it. Toss it if it can’t be made safe. Worth every paw-print.

Avoid bleach and scented oils. Bleach can leave harsh residue and damage materials, and many essential or scented oils are toxic to cats (they can harm breathing or skin). Stick to mild soap, vinegar, and warm water for safe, effective cleaning. For busy days, give an unbreakable ball a quick scrub and toss it for ten minutes of solo play before you head out.

Happy cleaning, your cat will probably give you a purr or a chew for your trouble, um, in the best way.

how to clean and sanitize unbreakable cat toys

- Complete cleaning and sanitizing protocol for unbreakable cat toys (fast, actionable emergency lede).jpg

If a toy gets messy, your first move is to pull it out of play right away. Knock off any loose gunk, then follow the quick checklist below for a fast, full cleanup. Ever watched your cat poke a treat chamber like it’s a tiny treasure chest? Those need special care.

Hot-soap soak: use hot water (as hot as your tap, but not scalding) and about 1 tablespoon mild dish soap per gallon; soak 30 minutes.
Vinegar option for puzzles/treat chambers: white vinegar : water 1:1; soak 20 to 30 minutes (vinegar helps cut grease and odors, and it smells tangy but rinses away).
Treat-dispensing toys: clean after every use. Wash any toy that touched vomit, diarrhea, or a sick pet right away.

  1. Isolate the contaminated toy and put it in a “dirty” bin so it doesn’t go back into rotation.
  2. Sort toys by material: hard (rubber (flexible synthetic material), plastic (molded polymer)), fabric (woven cloth), electronics (battery-powered parts).
  3. Toss anything with obvious hazards: loose bits, exposed stuffing, or sharp edges. Safety first.
  4. Pre-rinse under running water to remove loose debris, then do the hot-soap soak (see ratio) or the vinegar soak for puzzles and treat chambers (see ratio).
  5. Use a brush or an old toothbrush to scrub seams, nooks, and treat chambers until they look clean. Get into those tiny corners.
  6. Rinse under running water until the soap or vinegar smell is gone. No residue left behind.
  7. Air-dry completely, turning chambers upside down so water drains out, before letting your cat play with it again.
  8. Put the toy in a labeled clean bin and rotate it back into play when it’s fully dry.

Do not use bleach for routine cleaning. It’s harsh and can leave residues that irritate paws and noses. Avoid essential oils and dryer sheets on pet toys too; they can be toxic or leave greasy films.

Other sections expand on material caveats, sanitizer options, and homemade recipes – cross-reference this lede for soak times and how often to clean.

how to clean and sanitize unbreakable cat toys

sections expand on material caveats, sanitizer options, and recipes  cross-reference this lede for soak times and frequency rules so downstream sections do not repeat them.jpg

Before you start, check the lede for exact soak times and dilution rules, and always spot-test any cleaner on a small, hidden area first so color or texture does not change. A quick swab test can save a ruined toy and one very disappointed cat.

Rubber toys

Rubber (flexible synthetic material, like a soft, bendy shoe sole) does not love heat or harsh solvents. Don’t boil rubber unless the maker explicitly says it’s okay – repeated high heat can soften it or leave a tacky surface that traps dirt. If a rubber toy smells, sprinkle on baking soda, let it sit a few minutes, then rinse and dry; that usually freshens things without harsh chemicals. Worth a try before you get desperate.

Silicone toys

Silicone (heat-resistant polymer, like an oven-safe spatula) usually handles heat well and is often safe on the dishwasher top rack or for boiling sterilization, but check the manufacturer label first. Many folks treat silicone toys as dishwasher-safe and use steam cleaning too. If the maker warns against boiling or high heat, follow their guidance to avoid warping.

Hard plastic toys

Hard plastic (molded polymer, like a sturdy plastic cup) can sometimes go on the top-rack of the dishwasher, but thin seams, tiny hairline cracks, or flaking paint hide bacteria. Inspect seams closely; if plastic flakes or cracks, toss it. Small parts can pop loose in the dishwasher, so keep tiny toys out or hand-wash them.

Material Material Caveats Safe Heat Limits One-line Exceptions
Rubber (flexible synthetic material) Degrades with repeated heat or solvents; can get tacky Low to moderate heat only – avoid boiling unless maker approves Use baking soda for odors; do not use harsh solvents
Silicone (heat-resistant polymer) Heat-stable and resists warping when approved Usually safe for boiling and dishwasher – follow maker if not Good for steam cleaning and high-temp cycles when allowed
Hard plastic (molded polymer) Seams and cracks trap bacteria; paint can flake Top-rack dishwasher only for compatible pieces Replace if hairline cracks or flaking appear

And one last tip: refer back to the lede for exact soak times and how often to clean each toy so you do the job right without repeating steps here.

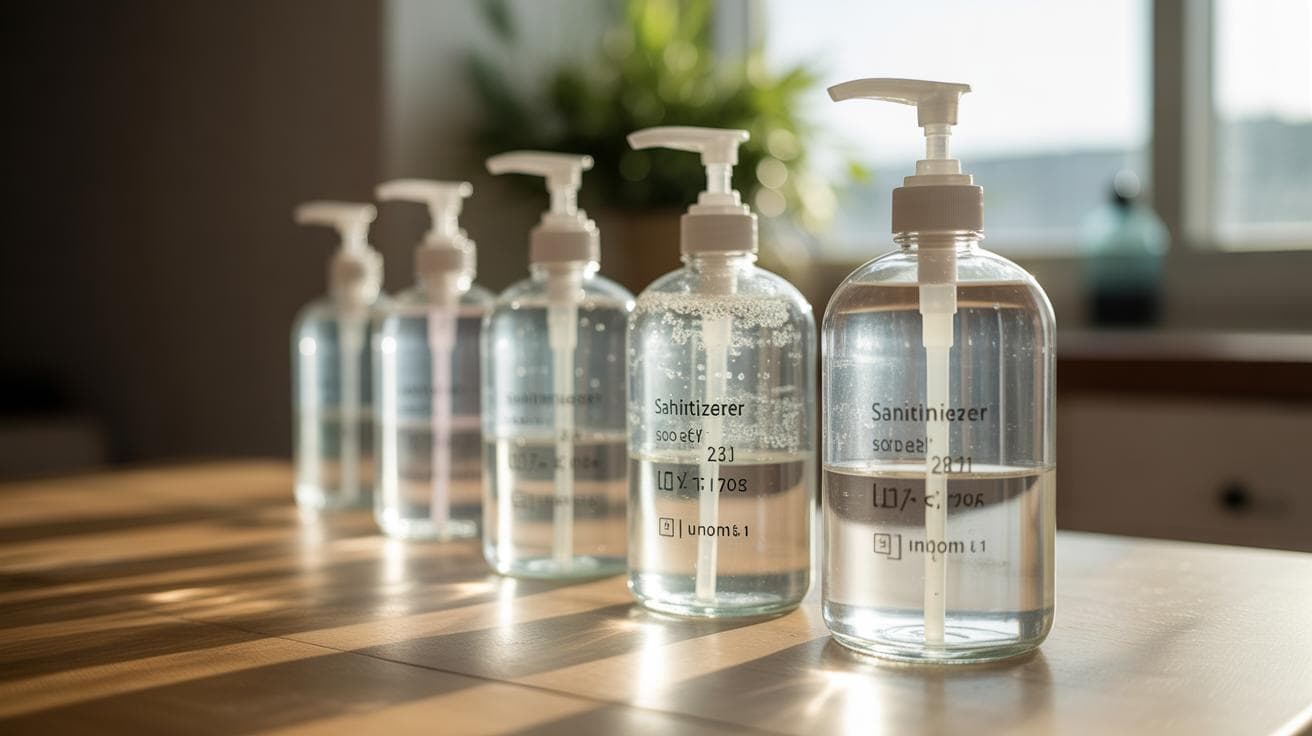
Mechanical sanitizers: dishwasher, boiling/steam, UV and ultrasonic options (pros and cons)

- Material-specific caveats and heat limits for rubber, silicone and hard plastic toys.jpg

Mechanical sanitizers save time and cut down on chemicals, which is perfect when you’re juggling work and whiskers. Check the lede first for base soak time and dilution notes (that’s where the exact timing lives) before you swap methods. Pick the tool that matches the toy material and the maker’s instructions so you don’t warp or wreck a favorite plaything.

  • Dishwasher

    • Pro: hot-water cycles give a solid rinse and heat boost for many plastics (lightweight molded material) and some silicone (soft, heat-resistant rubber-like material).
    • Con: dishwasher detergent can leave residue, and tiny parts may pop off or get tossed around during the cycle.
  • Boiling / Steam (steam = hot vapor)

    • Pro: chemical-free high heat for heat-tolerant silicone (soft, heat-resistant rubber-like material). Great for stubborn gunk without soap.
    • Con: not safe for many rubbers (stretchy material) or thin plastics (lightweight molded material); heat can warp or soften them.
  • UV (UV = ultraviolet light)

    • Pro: no moisture, so electronics (battery-powered parts) and dry hard surfaces avoid water damage.
    • Con: UV light can’t reach into seams or tiny crevices, so hidden gunk may survive. Think of it as surface-level only.
  • Ultrasonic (high-frequency sound waves above human hearing)

    • Pro: the tiny sound-driven bubbles in a cleaning solution reach deep into nooks and crannies for a thorough clean.
    • Con: don’t use on electronics, soft porous fabric (breathable, fuzzy materials), or toys with glued parts that might loosen.

Match the method to the toy’s material and follow manufacturer guidance. If you’re unsure, refer back to the lede for exact soak times and dilution so you don’t overdo heat or skip a rinse.

Worth every paw-print.

Quick recipes & cautions

- Mechanical sanitizers dishwasher, boilingsteam, UV and ultrasonic options (pros and cons).jpg

Base wash steps are in the lede. This little box has the extra, useful bits you won’t find there: a baking-soda paste, a machine-wash tip for plush toys, and a few hard safety calls.

  1. Baking-soda deodorizer: Use 3 tablespoons baking soda (sodium bicarbonate, a mild natural deodorizer) mixed with 2 to 3 teaspoons water until it becomes a spreadable paste. Spread on smelly spots, wait 5 to 10 minutes, scrub gently, then rinse completely. Example: 3 Tbsp baking soda + 2 tsp water , spread, wait 7 minutes, scrub, rinse.

Machine wash plush toys using a pet-safe enzyme detergent (enzymes break down proteins like drool and food). Pop toys in a mesh laundry bag, run a gentle cycle, and air-dry to keep seams and stuffing happy.

Do not use:

  • Household phenol disinfectants (toxic to pets)
  • Undiluted isopropyl alcohol on porous or plush items (it soaks in, can damage materials, and may leave harmful residue)
  • Unlabeled industrial cleaners or solvents (unknown residues and hazards)

If you’re unsure, spot-test in an out-of-sight area first or check with your vet. Worth every paw-print.

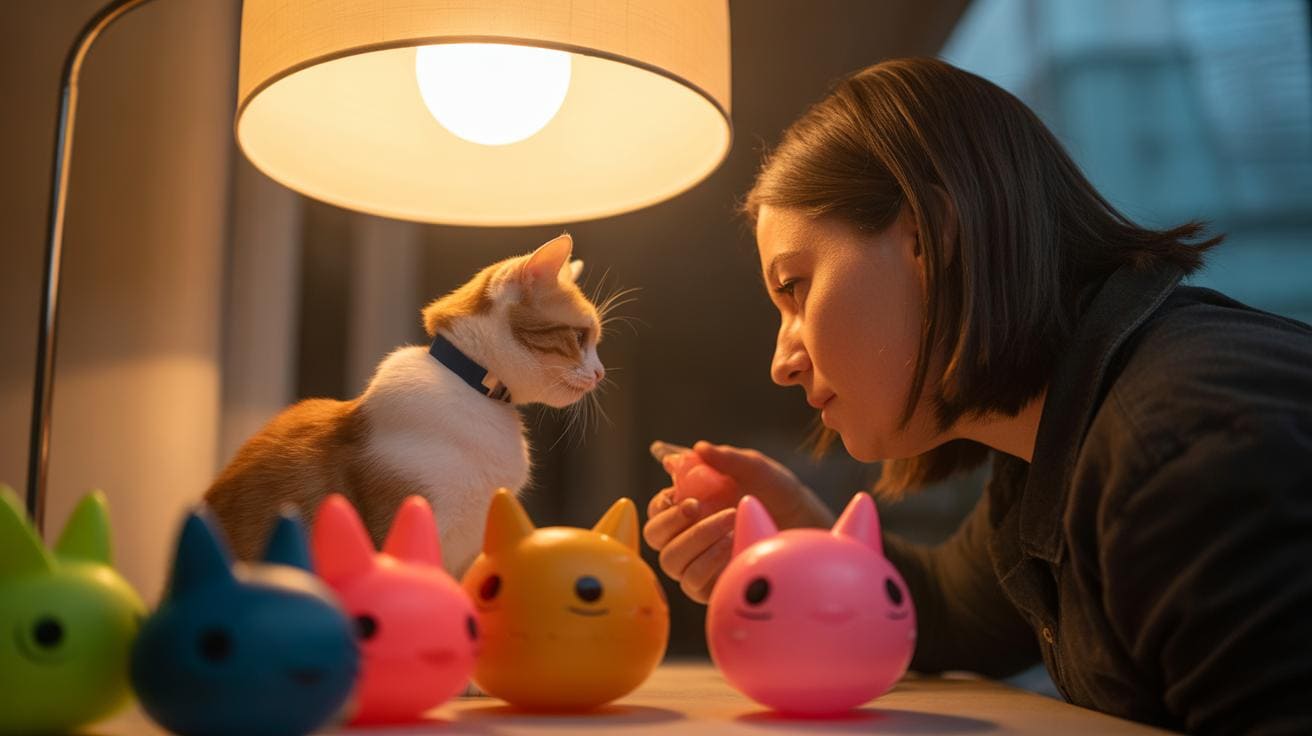
Cleaning treat-dispensing and puzzle toys: tools, inspection cues and targeted technique

- Pet-safe cleaners, precise dilution recipes and substances to avoid.jpg

Treat and puzzle toys trap food, saliva, and sticky bits, so they breed more germs than plain toys. Check the lede first for recommended soak times and per-use cleaning rules before you start. This section sticks to the tools you need, how to reach inner chambers, and the signs that a toy needs extra attention.

Tools and technique

Here’s what I reach for every time. Bottle brush (a long, flexible brush for cleaning deep tubes), small toothbrush (for seams and edges), cotton swabs (cotton-tipped applicators for tiny spots), compressed air (a can of air to blow out crumbs), and a pipe cleaner (a thin, bendable wire brush for narrow channels). You can also use a soft sponge for outer surfaces and a basin for soaking warm water (warm, not hot).

Start in this order. Empty the toy. Pre-rinse. Use the hand tools. Rinse again. It keeps the job tidy and faster, trust me.

Step-by-step cleaning sequence

  1. Empty the toy and tap out loose kibble and crumbs into the trash or sink.
  2. Pre-rinse under warm running water to loosen sticky kibble and saliva.
  3. Use the bottle brush to scrub deep chambers, pushing stuck food free from tubes and hollows.
  4. Scrub seams and edges with the small toothbrush, paying attention to places where drool and food collect.
  5. Work cotton swabs and a pipe cleaner into tiny channels and valves (valves are little one-way parts that control flow), then use compressed air to blow out any last crumbs.
  6. Rinse thoroughly under running water until no soap or loose bits remain, then air-dry upside down so water drains from cavities.
  7. Give it a sniff and a visual check before putting the toy back in rotation. If you still smell food or see discoloration, clean it again.

Watch for these warning signs

  • Persistent odor even after cleaning.
  • Discoloration, mold spots, or a gummy film inside pockets.
  • Cracks, warped plastic, or damaged seals and valves (seals are the rubber or plastic rings that keep parts tight).
  • Internal cavities you just can’t reach and clean.

If internal cavities can’t be cleaned fully, or seals and valves show wear, remove the toy from use. Better safe than sorry, right? Worth every paw-print.

Cleaning plush, catnip and non-washable fabric toys: preservation, machine settings and odor control

- Cleaning treat-dispensing and puzzle toys tools, inspection cues and targeted technique.jpg

If a toy is labeled machine-safe and sturdy, toss it in the washer. If it’s delicate or stuffed with catnip, hand-wash to keep that irresistible scent alive. The soak and dilution rules you read earlier apply for deep soaks, so this part just covers settings and gentle handling to protect fabric and aroma.

  1. Use a mesh laundry bag for small toys.

    • Mesh laundry bag (zippered mesh pouch like a little laundry net) keeps tiny toys from vanishing, snagging, or losing eyes and bells.
  2. Choose the right detergent.

    • Use a pet-safe enzyme detergent (enzymes are cleaners that break down proteins like drool and food). Follow the label for the right dose.
  3. Wash cold and gentle.

    • Run a cold, delicate cycle to protect seams, printed fabrics, and any glued bits. Cold water helps keep catnip oils from fading.
  4. Dry carefully.

    • If the label allows, tumble dry on low. But air-dry flat or hang in the shade when you can to keep shape and catnip potency (how strong the scent is). Avoid dryer sheets – they coat fabrics and can dull smells and textures.
  5. Hand-wash tips for catnip or fragile toys.

    • Gently agitate in warm (not hot) water with mild soap. Don’t wring; press out water and reshape the plush. Air-dry completely to stop mildew.

For mild odors, sprinkle baking soda (sodium bicarbonate) on the toy, let it rest a few minutes, then vacuum or rinse lightly. If an odor won’t budge, the catnip scent is ruined, or the toy has irreversible contamination (blood, feces, mold), toss it.

Quick note: small repairs like a resewn seam or glued-on eye can save a favorite toy. But if you’re unsure, safety first. Worth every paw-print.

how to clean and sanitize unbreakable cat toys

- Cleaning plush, catnip and non-washable fabric toys preservation, machine settings and odor control.jpg

Wet toys are the enemy. After you wash anything, drying it fully is step one , moisture left in seams or inside chambers (hollow parts of a toy) invites mold and that funky smell your nose hates. Check how long to soak and how often to clean, then give each toy a full air-dry cycle: use racks, turn hollow toys upside-down to drain, and let fabric pieces dry in sun or shaded airflow (fabric: woven material).

Toy Type Inspection Cues Repair vs Replace Storage Notes
Plush Loose seams, damp stuffing (stuffing: the soft filling inside), faded catnip scent (catnip: herb many cats love) Sew small tears. Replace if stuffing is exposed or smell won’t quit. Keep in breathable bins. Avoid damp basements.
Rubber toy Tacky surface, deep cuts, odor that won’t rinse out (rubber: stretchy, bouncy material) Patch tiny nicks. Toss if rubber softens, cracks, or rips. Dry fully on a rack. Don’t store near heat.
Silicone dispenser Warping, stuck lids, food trapped in seams (silicone: flexible, rubber-like plastic) Swap gaskets or seals (gasket: a soft sealing ring). Replace if shape is distorted. Store upside-down so chambers drain. Keep lids off until dry.
Rope toy Fraying, discoloration, musty smell (rope: twisted fibers) Trim loose ends. Replace if heavy fray or mold appears. Air out flat. Avoid airtight tubs that trap moisture.
Electronic / interactive Battery corrosion, loose wiring, persistent wetness (batteries: small power cells) Fix simple attachments. Replace if electronics look compromised. Remove batteries before storing. Keep in a cool, dry spot.
Multi-cat shared toys Frequent drool buildup, visible residue, cross-contamination risk Rotate or dedicate toys per cat. Toss if internal cleaning fails. Label per cat or use color bins to prevent swaps.

Watch for these deal-breakers:

  • Loose parts your cat could swallow.
  • Exposed stuffing or torn seams.
  • Sharp edges from chewing or broken pieces.
  • Flaking, cracking, or softening plastic or rubber (plastic: synthetic polymer).
  • Smell that won’t go away after cleaning or a baking-soda treatment (baking soda: common household cleaner).
  • Visible internal residue, mold, or unreachable gunk.

Rotate toys so your cat gets fresh stuff to chase and you get fewer shredded messes. Keep a labeled clean bin and a dirty bin so you always know what’s ready. Store toys in a dry, ventilated container and let hollow items drain upside-down before tucking them away. For teaser wand fixes and small attachment swaps, check DIY replacement attachments for teaser wands: https://titanclaws.com/diy-replacement-attachments-for-teaser-wands/

Worth every paw-print.

how to clean and sanitize unbreakable cat toys

- Drying, inspection, repair vs replace cues and rotationstorage practices.jpg

When your cat gets sick, toys can pick up germs fast. Pull any toy that touched vomit, diarrhea, or the sick kitty out of rotation and seal it in a bag right away. The lede has the exact soak and dilution steps for deep cleaning; this section walks through the tricky stuff, things water or heat can ruin and toys with electronics.

Electronics and battery toys

Remove batteries before you touch any electronic toy. Don’t submerge these items, water and circuits do not mix. Wipe the outside with a cloth dampened with 70% isopropyl alcohol (rubbing alcohol) and be careful not to push liquid into ports (openings for cables) or seams. Cover openings with tape or plastic wrap while you clean nearby areas, let everything dry completely, then reinstall batteries and test. Follow the maker’s cleaning notes when they’re available.

Post-illness handling (5 steps)

  1. Isolate the toy in a sealed bag or a designated dirty bin to stop cross-contamination.
  2. If the illness might be contagious, ask your vet whether testing or extra precautions are needed.
  3. Deep-clean toys that can handle it using the lede’s soak and dilution instructions; scrub all nooks and chambers (hidden cavities) so nothing gross is left behind.
  4. Inspect seals and gaskets (rubber rings), and check electronics for trapped moisture or corrosion (rust or damage).
  5. Toss any toy with internal contamination, broken seals, or compromised electronics, don’t try to fix a soggy gadget.

In homes with more than one cat, mark or color-code toys so each cat keeps their own. Avoid sharing high-risk treat or puzzle toys without cleaning between users; use labeled clean and dirty bins so toys don’t get swapped by accident. Little tricks help, stick a strip of colored tape on a toy, or use different colored balls, simple, but it saves a lot of worry.

Quick advanced checklist and FAQs

- Special cases electronics, shared-toy handling and post-illness protocols (nuances, not repeats).jpg

  • Use pet-safe cleaners when you can (see Quick Recipes). They clean well without upsetting your cat or leaving weird smells.
  • Don’t use essential oils or dryer sheets on toys , they can irritate noses and skin. See the Plush section.
  • Check the Material Table before you try heat, solvents, or heavy methods. Solvents (strong chemicals that dissolve stuff) and heat can ruin some materials.
  • Keep a puzzles toolbox handy: a soft brush, a small toothbrush, pipe cleaners, and compressed air (the canned spray used to blow dust). These little tools make treat toys easy to clean. See Treat‑Dispensing Tools.
  • For electronics, pull the batteries first and follow the Electronics Protocol. Batteries can leak or short if you use water.
  • Not sure whether to fix or toss a toy? Follow the Inspection Cues / Repair vs Replace table for quick guidance.
  • Label toys by cat and keep separate clean and dirty bins so you don’t mix things up. See Storage Notes.
  • If a toy was involved in an illness or heavy contamination, contact your vet or the toy maker right away (see Post‑Illness handling). Better safe than sorry.

FAQ (jump to existing answers):

Final Words

In the action: you’ve got a grab-and-go emergency protocol, an 8-step cleanup checklist, and clear soak recipes so you can act fast when a toy gets messy. Then the post walks material heat limits, mechanical sanitizers, pet-safe cleaners, puzzle/treat tools, plush care, drying and storage, plus electronics and post-illness tips, so multi-cat homes stay healthy and tidy.

Stick with the lede soak ratios and rotation habits, and playtime stays safe, low-stress, and long-lived. Want to know how to clean and sanitize unbreakable cat toys? Happy pouncing.

FAQ

Cat Toy Cleaning & Disinfecting FAQ

How to clean and sanitize unbreakable cat toys at home (DIY, YouTube, Reddit, vinegar)?

Soak in hot water with 1 tbsp mild dish soap per gallon for 30 minutes, or soak puzzles/toys in a 1:1 solution of household white vinegar and water for 20–30 minutes; scrub, rinse thoroughly, and air-dry.

How can I wash catnip-filled and plush cat toys (can you wash cat toys with catnip)?

Machine wash in a mesh bag on cold/delicate with a pet-safe enzyme detergent, or hand-wash gently. Reshape and air-dry to help preserve catnip potency and fabric shape.

How to safely disinfect cat toys and what disinfectant is safe to use on cats?

Wipe nonporous items with 70% isopropyl (rubbing) alcohol; use diluted white vinegar for puzzles and similar items. Avoid routine use of bleach on toys, and do not use essential oils or dryer sheets on items that cats contact.

How to disinfect toys that can’t be washed?

Wipe surfaces with a cloth dampened with 70% isopropyl alcohol or use a UV sanitizer for solid nonporous items. For plush that can’t be laundered, deodorize by sprinkling baking soda then vacuuming. Discard toys contaminated with feces or vomit.

How to clean toys after vomiting or illness?

Remove affected toys from rotation, remove visible debris, pre-rinse, then perform a full hot-soap soak or vinegar soak as above, scrub, rinse thoroughly, and air-dry. Discard porous items that were contaminated by bodily fluids.

How to clean fabric cat toys and preserve smell or catnip?

Wash in a mesh bag on cold/delicate with pet-safe enzyme detergent or hand-wash with gentle agitation and minimal wringing. Air-dry completely. For mild odors, sprinkle baking soda, let sit, then vacuum.

Author

  • Lucas Turner

    Lucas Turner is an urban photographer based in Chicago, Illinois, known for his captivating images that highlight the pulse of city life. With a unique perspective, he captures the vibrant contrasts between architecture, people, and the urban environment, telling stories through his lens.

    Outside of photography, Lucas enjoys coffee shop hopping, exploring the diverse cafes around the city. He finds that each coffee shop has its own vibe, offering a perfect setting for creativity to flow. As he often says, “A good cup of coffee and a new view always inspire my best work.”

    Lucas’s photography is a reflection of his love for the city’s energy and the quiet moments found within it.

    View all posts

Similar Posts