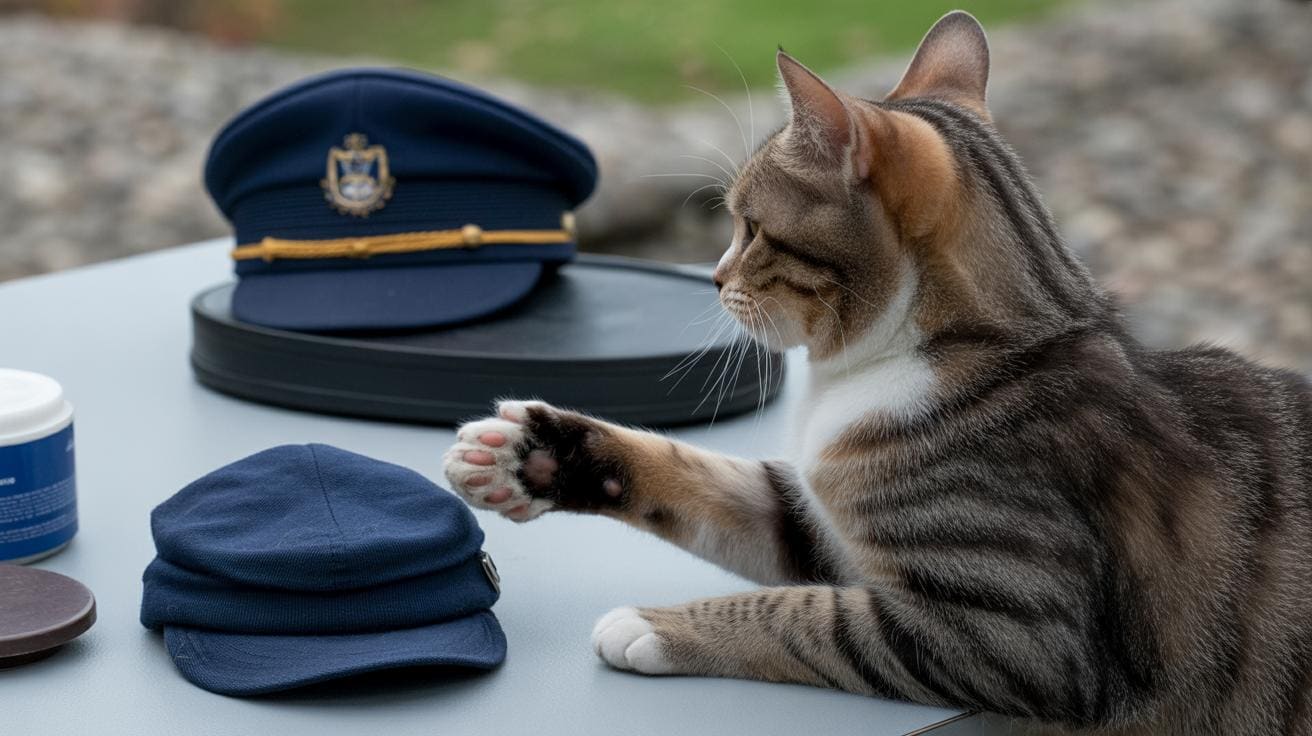
Want to protect your sofa without resorting to declawing?
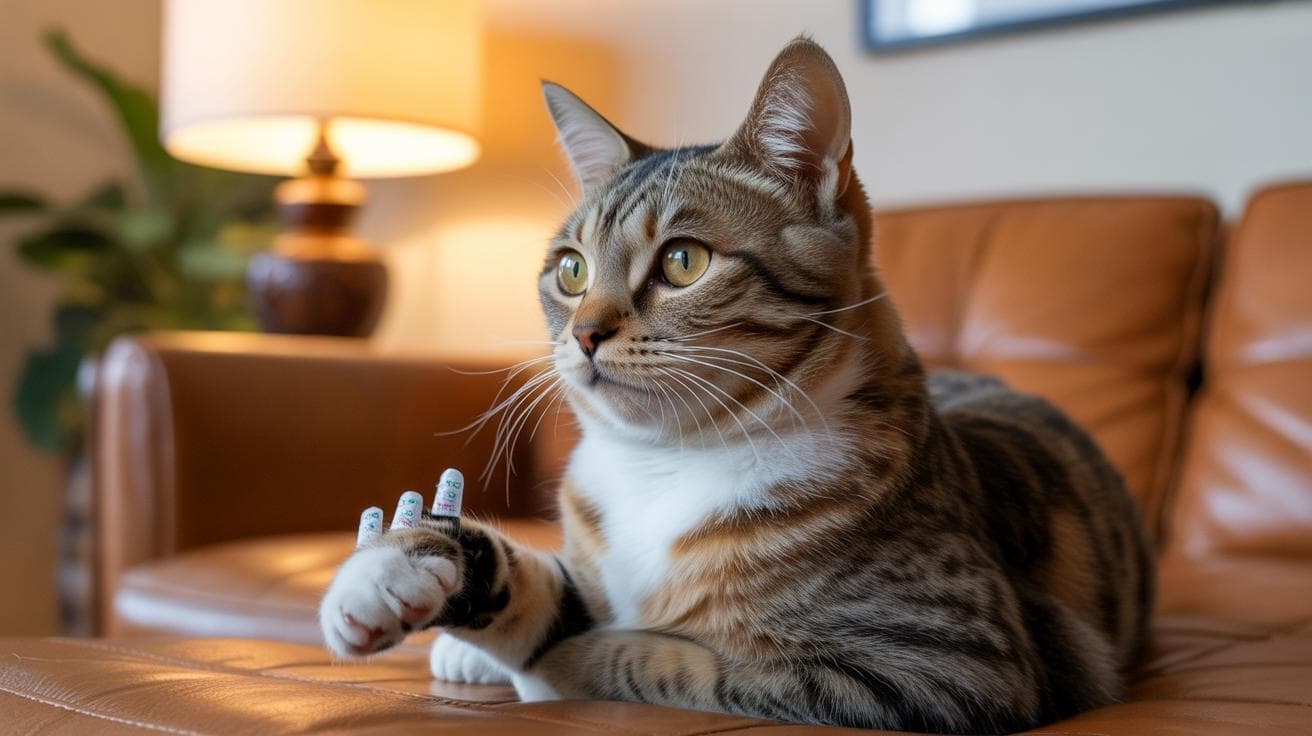
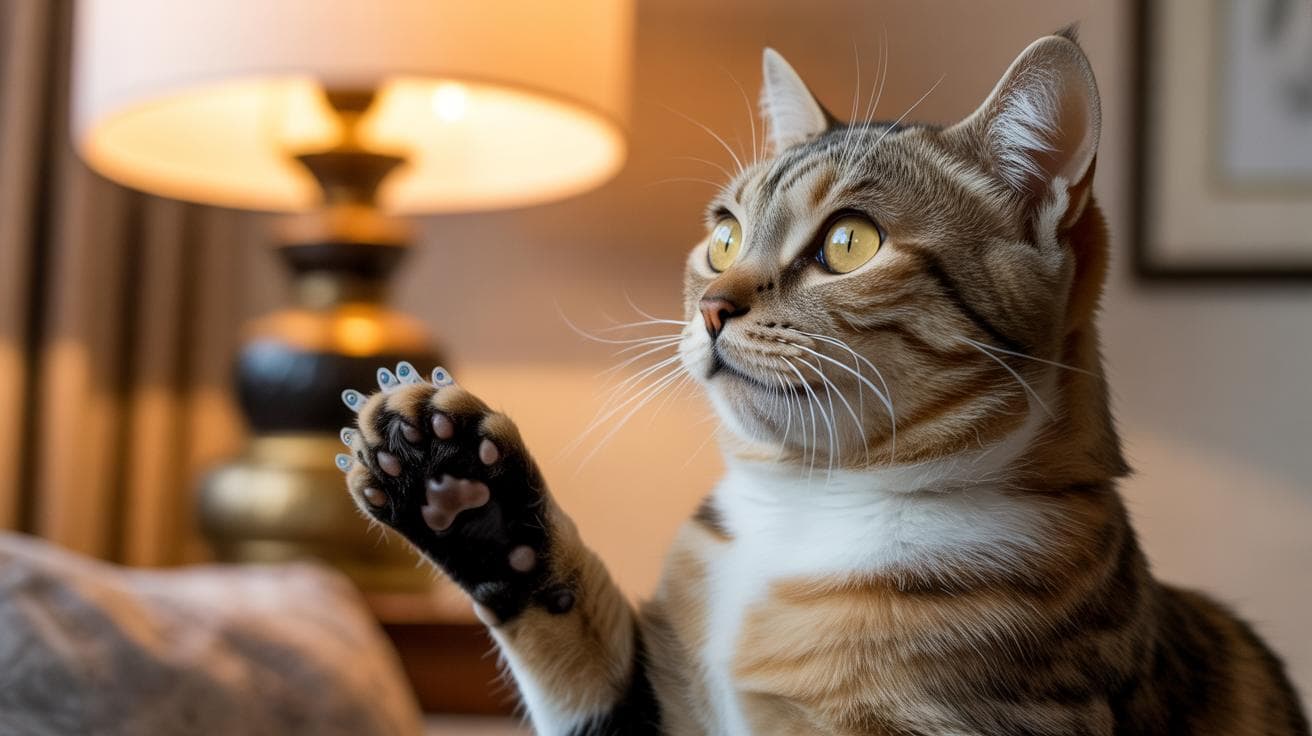
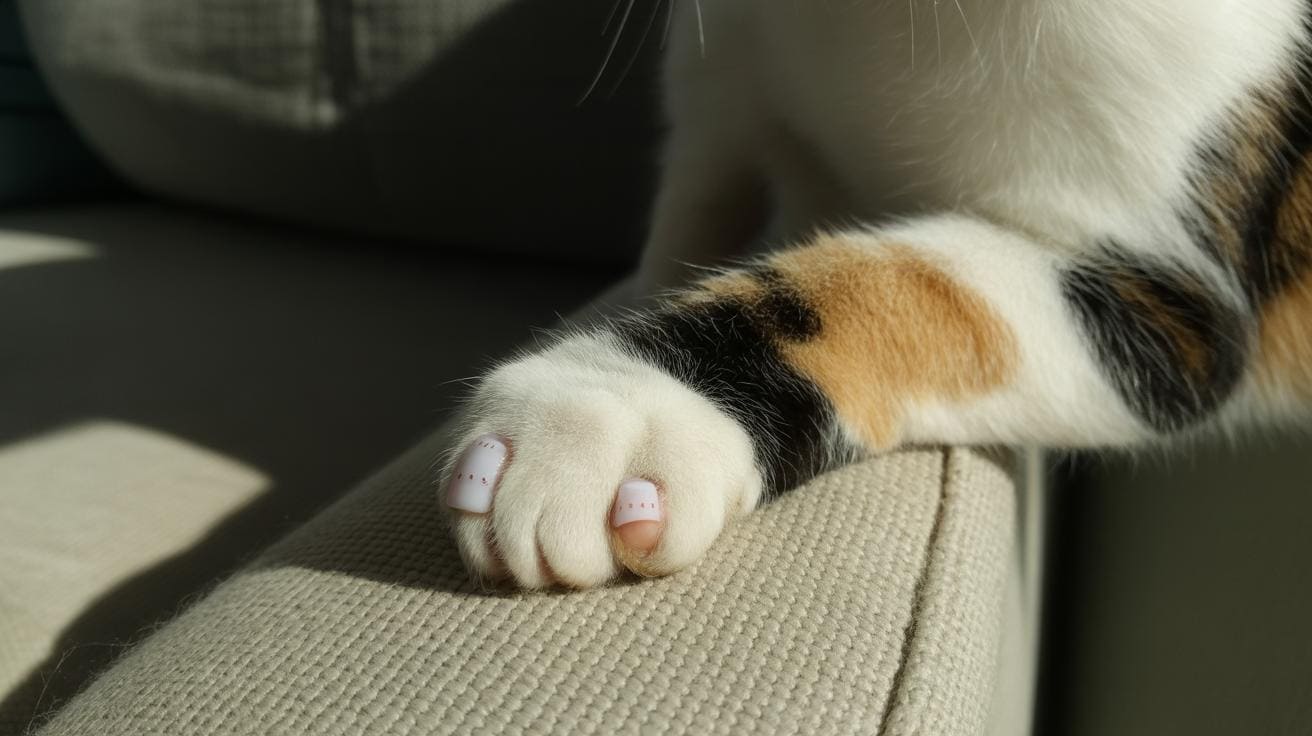
Soft nail caps are tiny plastic or vinyl (vinyl is a soft, flexible plastic) covers you glue over a cat’s claw. They let the nail retract and grow, and they blunt scratches so your couch gets pats instead of rips. It’s a humane, low-stress option when you pick the right size and check them often.
How do they work? Think of them like little soft caps that sit over the tip of the nail. When your cat stretches and scratches, you still get the satisfying thud of paws, but the claws won’t shred upholstery. Cats can play, climb, and knead just like normal.
Picking the right size matters. Measure the width of your cat’s nail at the base and match the kit’s size chart – most kits include several sizes. If a cap is too loose it’ll fall off; too tight and it’s uncomfortable, so aim for a snug fit.
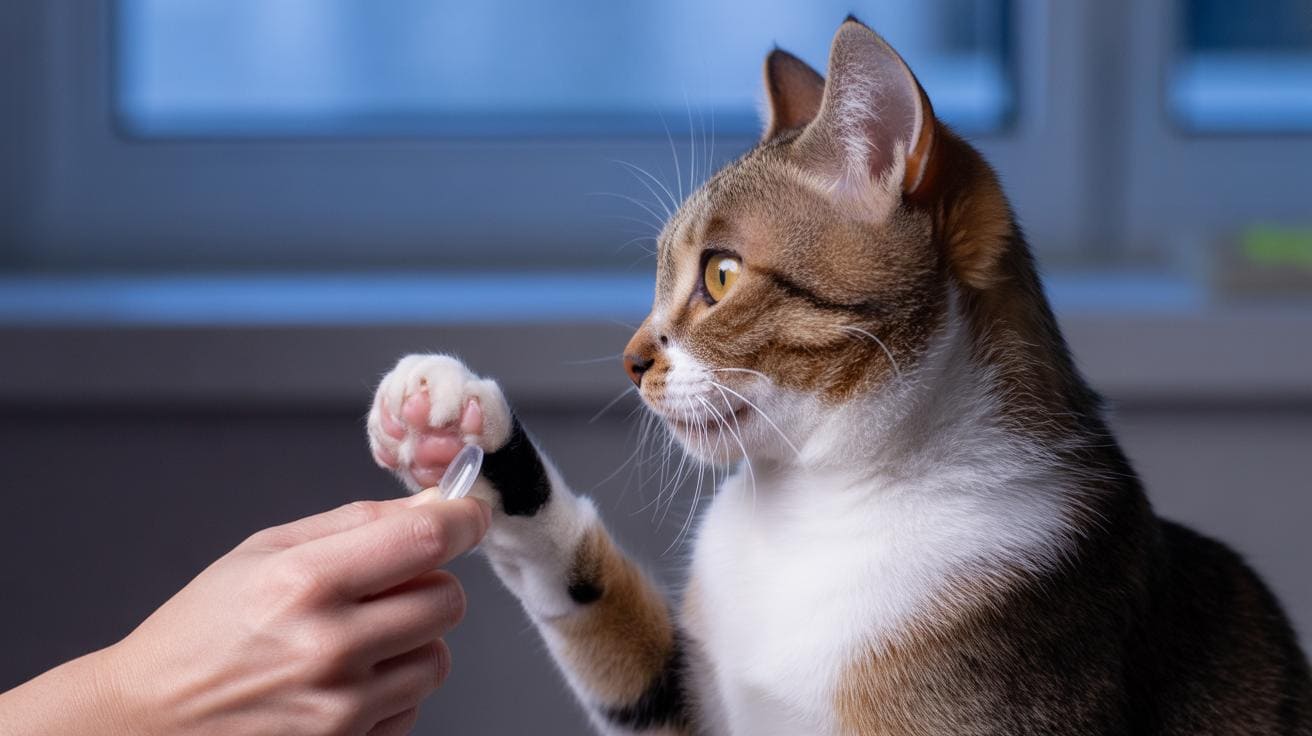
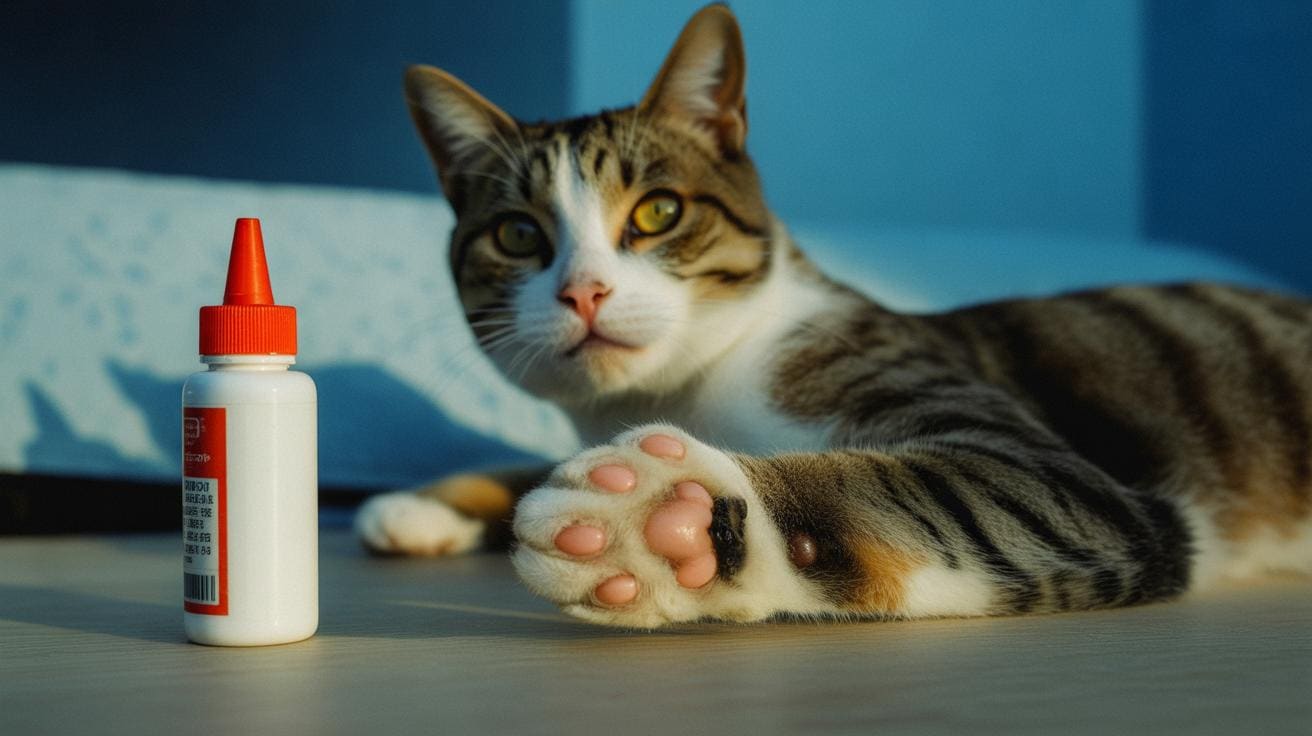
Putting them on is simple. Trim any long tips, wipe the claw clean, squeeze a tiny drop of the special glue into the cap, then press it onto the nail and hold for a few seconds. Use only glue made for nail caps and follow the kit instructions closely. Supervise your cat for the first hour so they don’t chew at the caps.
Check and replace them regularly. Look at claws every 2 to 4 weeks and swap caps that are loose or worn, most fall off naturally with nail growth around 4 to 6 weeks. If a paw is red, swollen, or your cat seems in pain, remove the cap and call the vet.
Who’s this good for? Indoor cats that tolerate gentle handling, busy owners who want safe short-term protection, and shelters looking to prevent furniture damage. Some kitties hate having their paws handled, though, so go slow and use treats, ever watched a cat decide five seconds is enough? Uh, you know.
When you shop, choose kits with multiple sizes, vet-approved glue, clear instructions or a tutorial video, and extra caps and glue. A good return policy helps too.
Worth every paw-print.
Try it for a month and see how it goes, your arms (and couch) might thank you. I once watched Luna leap six feet for a toy and tap a capped paw like it was nothing; pure joy.
Soft Nail Caps for Cats: Sizes, Safety, Brands
Soft nail caps are tiny covers glued over a cat’s claw so the nail can still retract and grow like normal. They’re made from plastic (sturdy molded polymer) or vinyl (soft, flexible plastic), and they sit on the tip of the nail to blunt scratches. Ever watched your cat stalk a toy and thought, “Please don’t shred the couch”? These can be a humane, non-surgical alternative to declawing for many indoor cats. Are nail caps safe? For indoor use, the short answer is yes, when they’re applied and checked as recommended.
Quick facts you’ll actually use:
- Typical lifespan: 4–6 weeks.
- If a cap’s still on at week 8, replace it.
- Common kit sizes: 40–120 caps.
- Typical price range: about $15–$25.
Who they work best for: indoor cats that need furniture or people protection. Not great for outdoor cats who depend on claws for climbing, hunting, or defense, those kitties need their full grip.
How to get started:
- Measure: see Size Chart
- Apply: see Step-by-Step
- Compare: see Brands
Worth a try if you want a claw-tastic, low-stress way to save your sofas and your hands.
How Soft Nail Caps for Cats Work and Safety Considerations
Soft nail caps are tiny covers that slip over the sharp tip of a claw, blunting the bite against furniture while still letting the nail retract (pull back into the paw) and grow normally. Your cat can stretch and scratch like usual, but fabrics and skin take less of a beating. It feels odd at first for us humans; most cats hardly notice.
Most caps are made from vinyl resin (a soft, flexible plastic) and are set in place with an adhesive (glue) that becomes inert once it cures (hardens). Look for products labeled non-toxic, and actually read the ingredient claims and directions before you buy. Safety varies by brand, so take a minute, this is not one of those products you want to wing.
Two common mistakes to avoid: overfilling a cap with glue, which can trap goop on fur, and leaving caps on past eight weeks, which can make nails feel tight or uncomfortable as they grow. Trim the nail first so the cap sits flat; if you leave too much nail, the cap won’t fit right. Oops, little things like that happen, but they’re easy to fix.
Check paws weekly for chewing, excessive licking, redness, swelling, or a limp, those are your red flags. If you see any of those signs, remove the cap and call your vet. Also keep an eye on how many caps are falling off.
If caps keep popping off, sizing is usually the issue, or the nail wasn’t trimmed properly. Get a helper to steady your cat, or ask a groomer or vet tech to show you the right angle and amount of glue. Talk with your veterinarian if you notice signs of infection, repeated failures, or if you’re applying caps to kittens or special-needs cats, some animals may need sedation (mild calming medicine) for a safe application.
Worth every paw-print.
Measuring and Size Chart for Soft Nail Caps for Cats
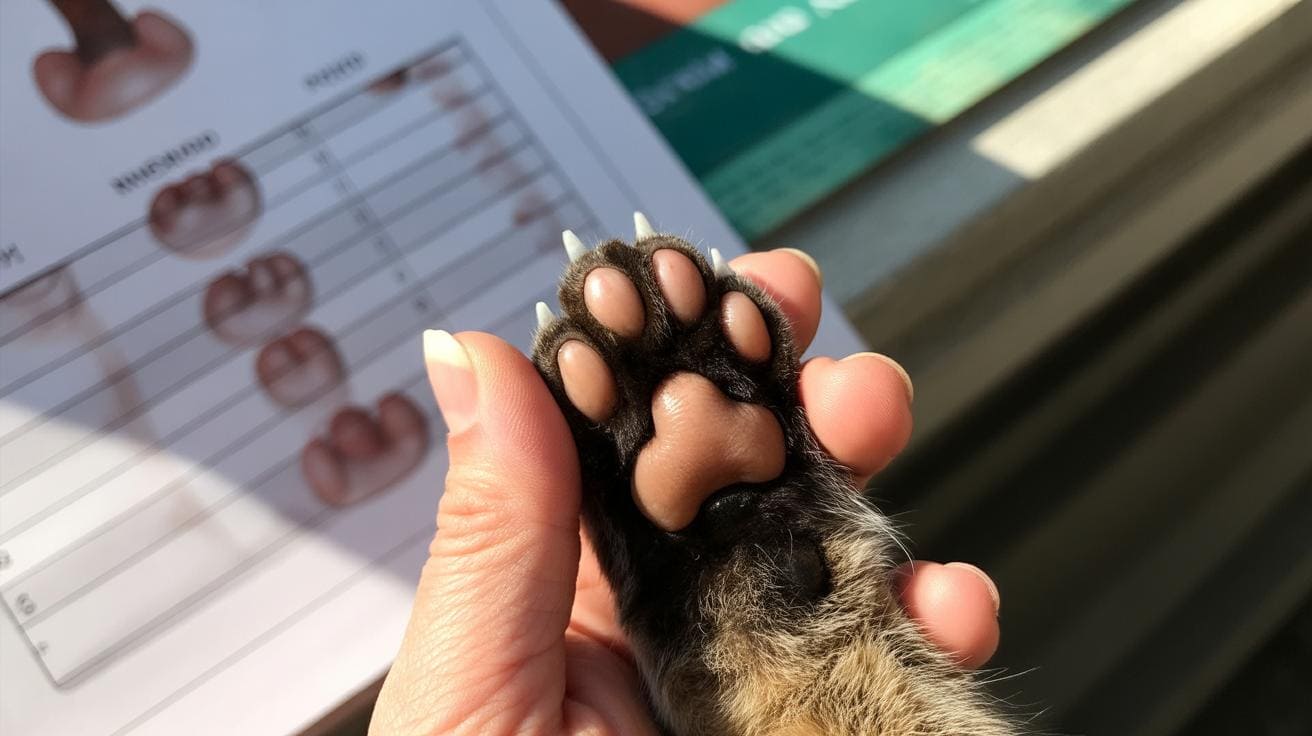
Getting the right fit keeps caps from popping off and saves you a lot of re-gluing. Most brands use this weight guide: XS (up to 5 lbs), S (6-8 lbs), M (9-13 lbs), L (13+ lbs). Some makers add an X-Small or Kitten size for under 5 lbs so tiny toes get a snug fit.
Trim each nail so the cap sits flat. Then slide a cap on without glue to test the fit , that dry fit is the best clue if it will stay. If a brand lists nail width in millimeters (mm; tiny units used to measure small widths), measure the trimmed nail with calipers (a tool that measures width) and match the mm to the chart.
For polydactyl cats (cats with extra toes), measure every extra toe by itself and expect to mix sizes in one order. Extra toes are often bigger or smaller than the rest and need their own fit check. Glue only after you’ve tested every nail.
Worth every paw-print.
| Size | Typical Cat Weight | Notes on Fit and Nail Width (mm) |
|---|---|---|
| XS / Kitten | ≤ 5 lbs | Tiny toes. Check the brand’s mm chart for kitten widths and do a dry fit on each nail before gluing. |
| S | 6-8 lbs | Small adult cats. Trim nails so caps sit flat and trial-fit each nail without glue. |
| M | 9-13 lbs | Average adults. If the brand lists mm, measure the trimmed nail with calipers and match it. |
| L | 13+ lbs | Large cats. You might need firmer caps; test trimmed nail width and do a careful dry fit. |
Step-by-Step Nail Cap Application for Cats
First, gather your supplies: nail caps, adhesive (cat-safe glue that hardens , like a tiny, quick-setting glue made for pets), applicator tips (small nozzles for precise drops), nail clippers (pet trimmers for tiny nails), towels, lint-free wipes (wipes that don’t leave fibers), and treats. Having everything within arm’s reach makes the whole thing quicker and calmer , and your cat will thank you with fewer squawks.
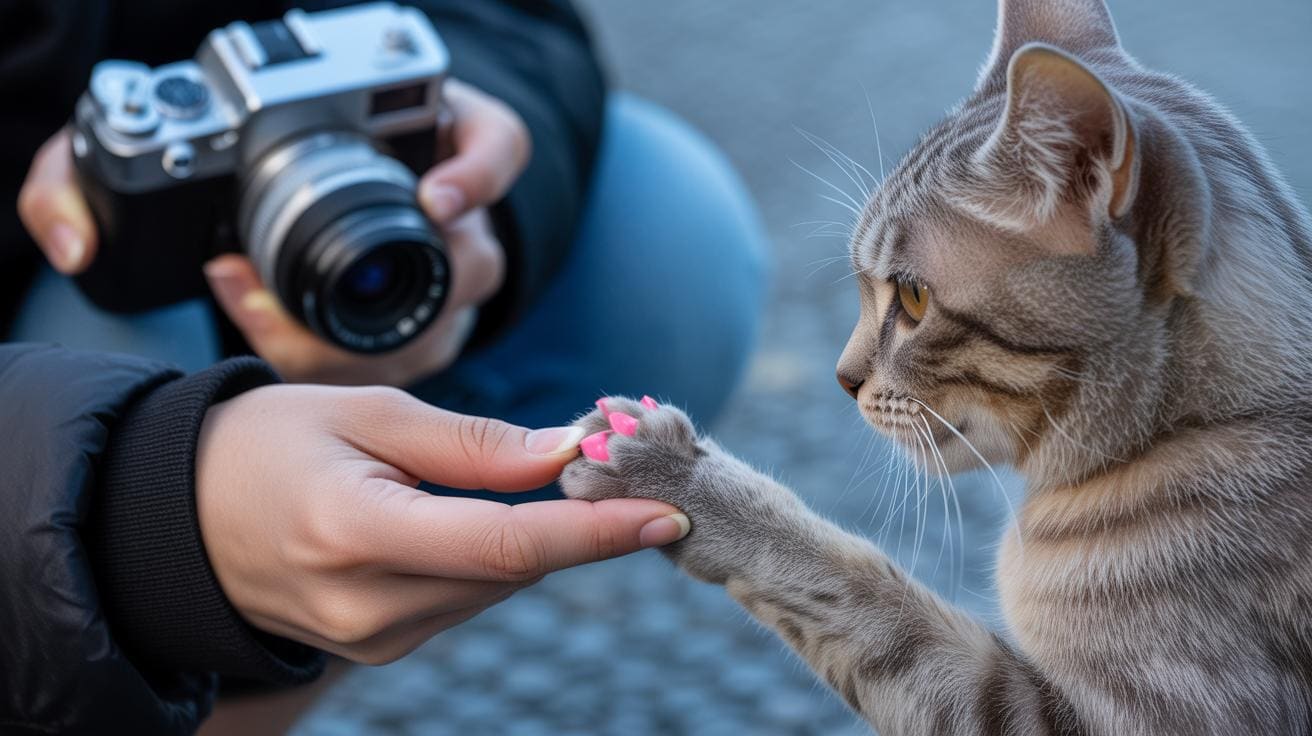
Pick a quiet, relaxed time, like right after a nap or a meal. If you can, get a helper to gently hold your cat and hand out treats. Take it one paw at a time. Short breaks are fine , nobody likes a marathon when stress levels rise.
- Lay out the kit so you don’t have to hunt mid-session.
- Trim each nail to the recommended length using the clippers. Be careful of the quick (the pink part with blood vessels); clip a little at a time.
- Wipe the nail surface clean with a lint-free wipe so glue sticks better.
- Do a dry fit: slide a cap onto each nail without glue to make sure the size is right. It should fit snugly, not squeeze.
- Put a tiny bead of glue into the cap , just a dot. Too much glue can touch fur and make a mess.
- Slide the cap over the nail and hold for 5 to 10 seconds until it feels tacky. Keep your voice soft and give a treat if your cat relaxes.
- Repeat for the rest of the nails, pausing if your cat fusses. One paw at a time is perfectly fine.
- Let the adhesive cure fully according to the manufacturer’s directions , check your kit for exact curing times so you don’t rush it.
Watch your cat closely for the first 24 to 48 hours and check capped nails once a week. Plan to replace caps every 4 to 6 weeks, or by week 8 at the latest if they’re still on. If caps keep popping off, double-check that you used the right size and that the nails were trimmed flat before trying again. And if you see redness, swelling, or signs of pain, stop and call your vet , better safe than sorry.
Worth every paw-print.