Let’s be honest, most cat toys are glorified confetti , tiny fluff, cheap fabric, and a squeak that disappears in a day. They look fun until your cat turns them into a stuffing explosion. I want to help you stop buying duds and keep your kitty safe.
This quick at-home test routine shows you what to check before a toy becomes a hazard. You’ll run six simple checks: pull (tensile – how much pulling force a seam can take), seam and stitch (how seams are sewn and held together), bite simulation (chew test to see if stuffing or parts come loose), abrasion (wear from rubbing), drop/shock (impact resistance), and wash test (how it stands up to machine or hand washing). Each one takes just a minute or two.
Take a few before-and-after photos as you test, follow the step-by-step moves, and you’ll know when to repair a toy or retire it for good. Think of it as toy triage , quick fixes for the keepers, and a polite goodbye for the shredded ones!
Ever watched your kitty pick a favorite toy only to shred it in a day? Yeah, me too. I once saw Luna leap, snag, and unstuff a mouse in under sixty seconds , hilarious and annoying all at once!
Quick-reference: fast durability checks for your cat toys
This quick checklist helps you decide in minutes if a toy can stay, needs a repair, or should be retired. Focus on keeping loose stuffing, glued-on bits, tiny fragments, and exposed batteries away from your cat. Before you start, snap a clear before photo with the date, and plan to take an after photo with the date for your records. Ever watched your kitty pick a favorite toy only to shred it in a day? Yeah, me too.
-
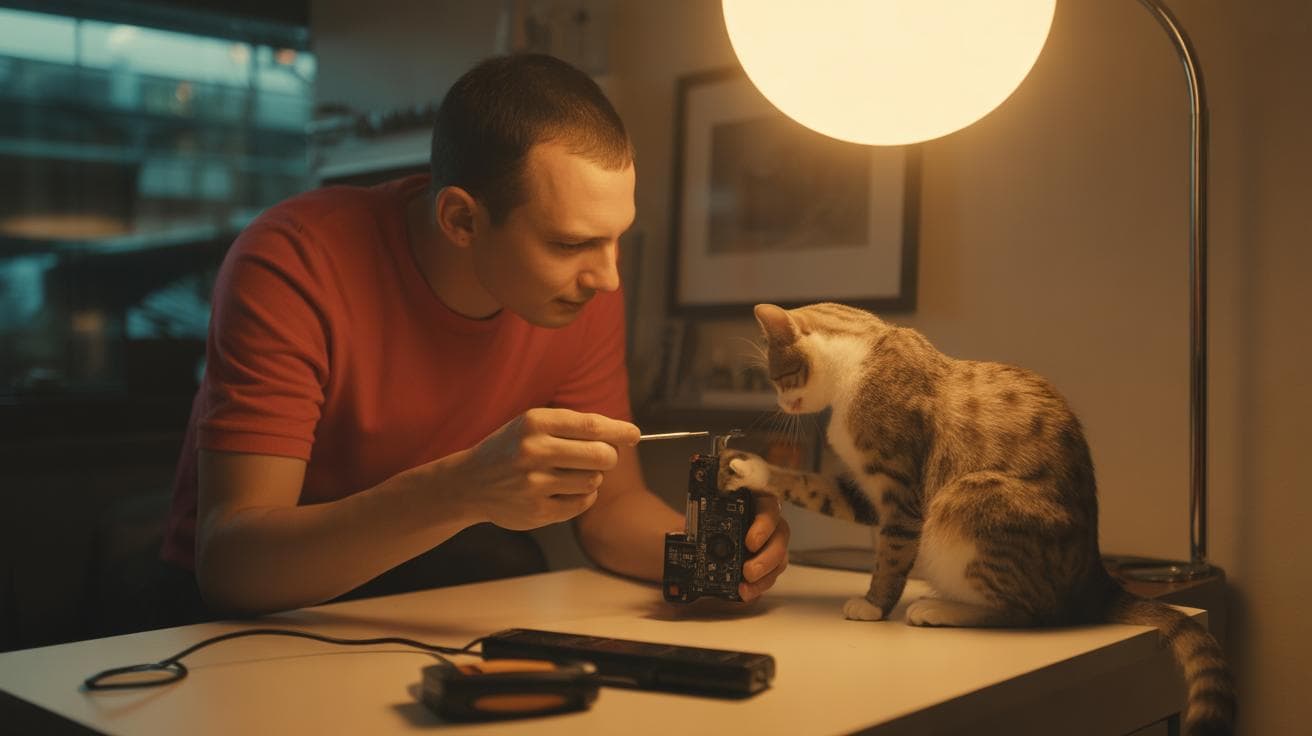
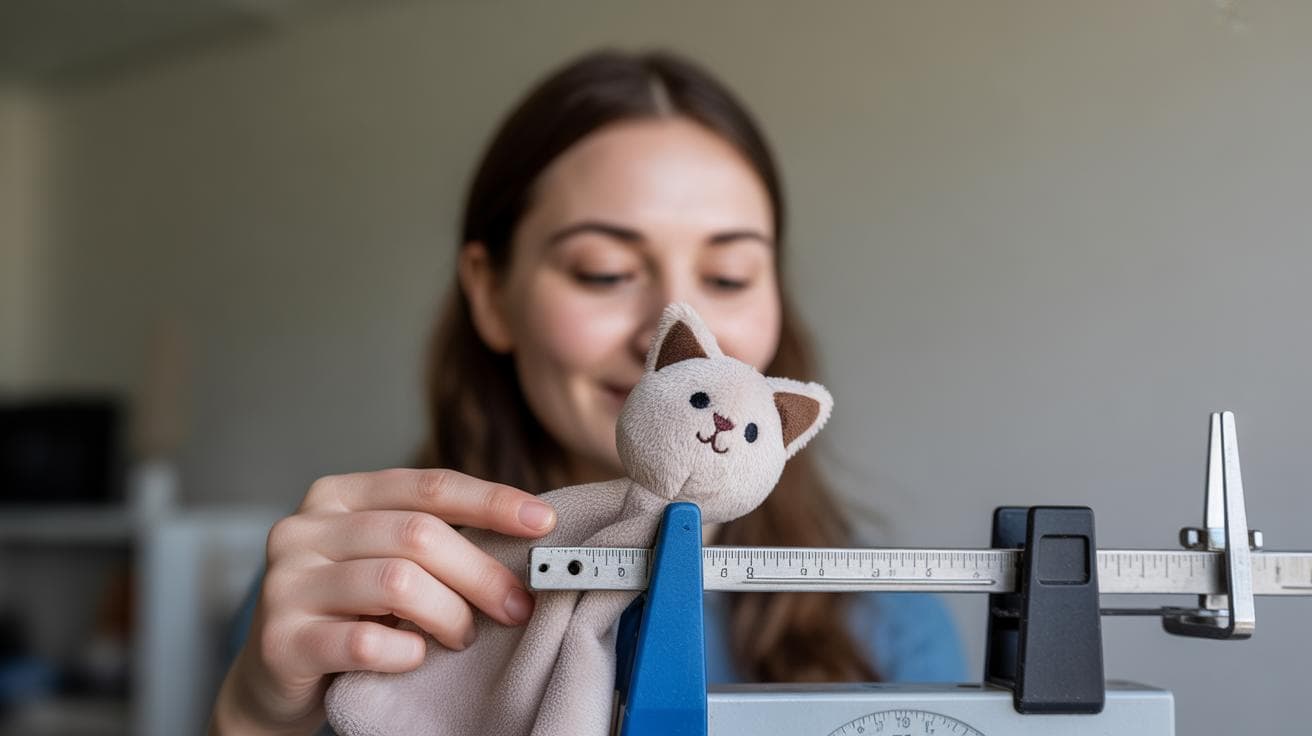
Pull test (tensile test)
Clamp the toy (a holder that keeps the toy steady) and pull steadily with a luggage or hand scale (a small portable scale for measuring force). Pull until you feel resistance. Fail if seams gap, threads snap, or stuffing peeks out. Repeat three times to be sure. -
Seam and stitch check
Run your fingers along all seams, tug corners, and gently wiggle glued-on eyes or noses. Fail if stitches loosen, glue peels, or parts wobble free. Do this check three times; small loosening can get worse fast. -
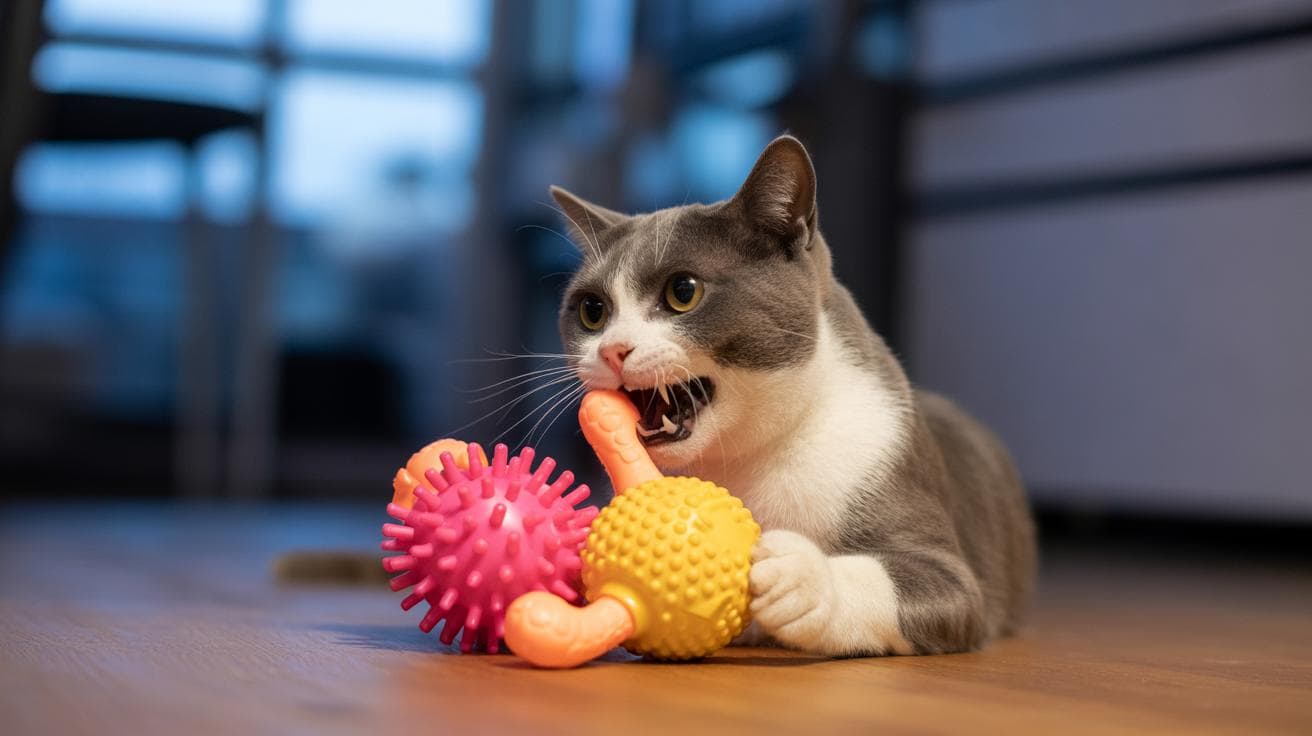
Bite and chew simulation
Wearing a glove, give short, controlled bites or tugs to the surface like your cat would. Fail if the surface breaks, small pieces come off, or stuffing shows. Repeat this three times. Caution: gloves protect your fingers but don’t assume the toy is safe for unsupervised play. -
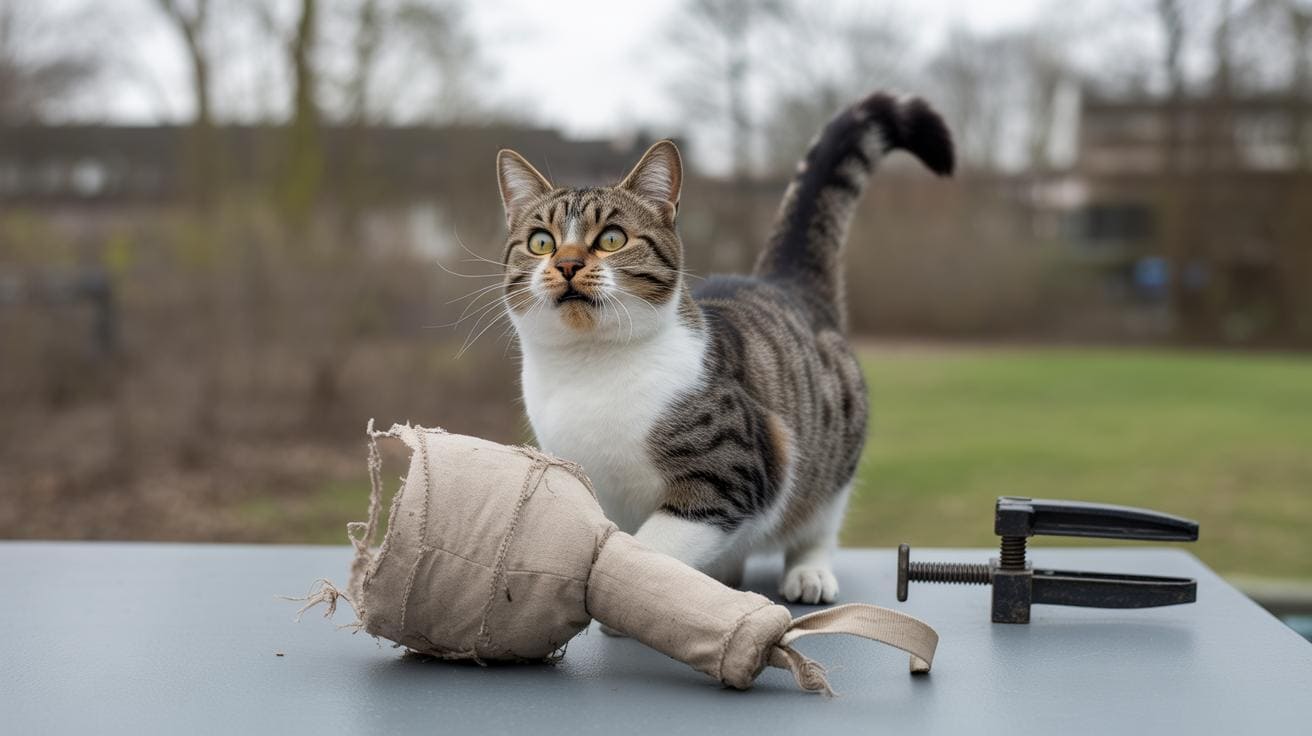
Abrasion test
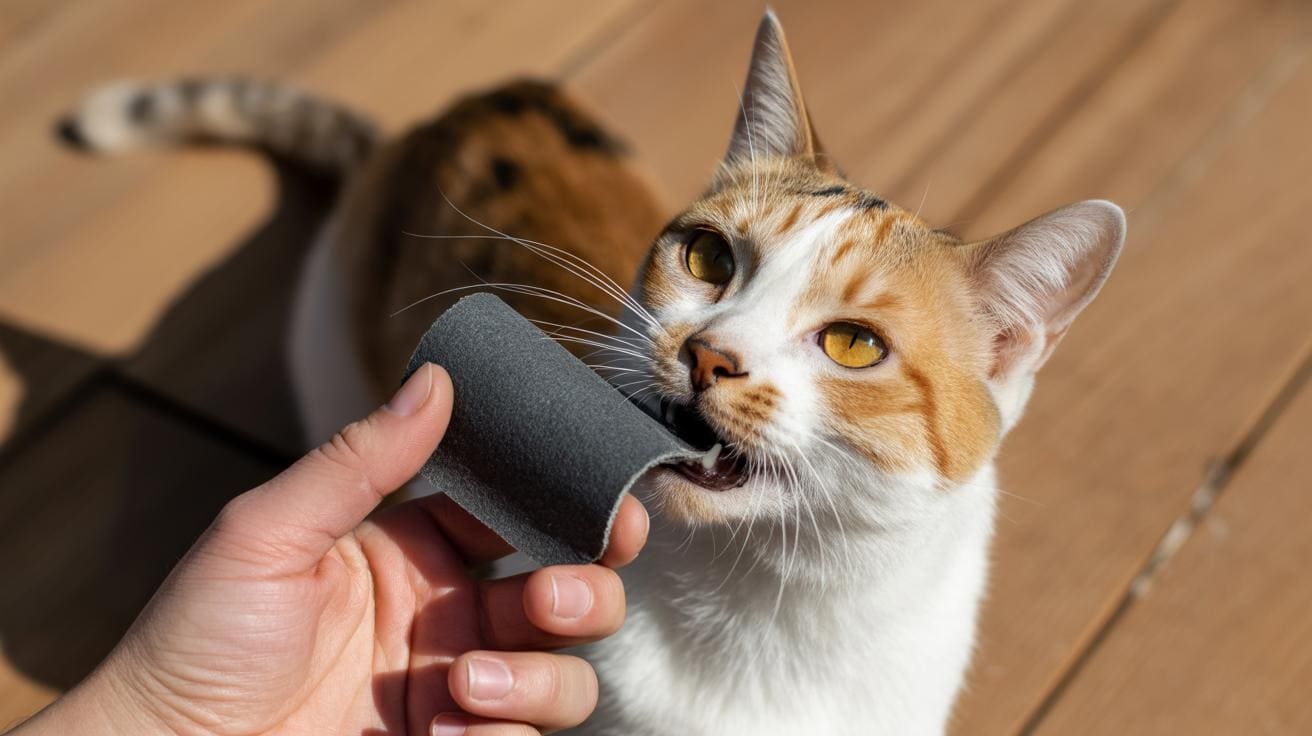
Rub a small hidden area with sandpaper (rough paper used to wear material) or an old toothbrush to mimic chewing. Fail if the fabric thins, tears, or stuffing appears. Try this test three times so you catch slow wear. Think of it as a mini stress test. -
Drop and shock check
Drop the toy onto carpet from waist height and let it roll or tumble a few times. Fail if plastics crack, seams split, or batteries shift. Repeat five times to simulate real play. If batteries move, retire the toy right away. -
Wash and dryer test
Run a gentle cold cycle in the washer (follow the label if there is one) and inspect after drying. Fail if adhesives loosen, stuffing compacts, or any odor or mildew shows up. Repeat one to three times depending on how often you plan to wash the toy. -
Stuffing escape and puncture probe
Press a blunt probe (a rounded tool like the eraser end of a pencil) at three points to test puncture resistance. Fail if the probe makes holes or exposes filling. Repeat three times. If stuffing can escape, you don’t want that near a curious cat.
Tools: clamp (holds items steady), luggage/hand scale (portable force scale), sandpaper, towel, washer and dryer, blunt probe (rounded tool like a pencil eraser).
See the detailed sections below for full step-by-step protocols, safety notes, and repair tips. Worth every paw-print.
DIY pull, seam and bite tests for plush and stuffed cat toys at home
Below you’ll find a friendly seam-strength test and simple repair tips so your toys stay safe and fun.
Seam-strength test method
Step-by-step protocol:
- Secure one end of the toy in a clamp (a tool that grips fabric firmly).
- Attach a luggage or hand scale (a pocket-sized force scale that measures pulling force) to the other end.
- Pull steadily along the seam until it gives. Pay attention to the feel and sound , you might hear a tiny pop , and watch for threads fraying, stitches popping, or stuffing peeking out.
- Repeat three times on the same seam area to check consistency.
- Record the peak force reading on the scale (or mark pass/fail) and write a short note about where it failed.
Suggested data log format:
| Toy ID | Date | Trial 1 (lb/kg) | Trial 2 (lb/kg) | Trial 3 (lb/kg) | Failure type | Notes |
|---|---|---|---|---|---|---|
| Mouse-01 | 2026-01-17 | 6 lb | 6.5 lb | 6 lb | Stitch popped | Seam at tail; needs repair |
Bite simulation and stuffing escape check
Put on a thick glove (leather or a heavy work glove) and give short, controlled tugs and light biting motions to the toy surface to mimic chewing. Look for surface breakdown, loose fibers, or exposed stuffing (the fluffy filler inside). If glued-on eyes or noses loosen, remove them before any unsupervised play.
Count how many tugs or bites until something fails and note the exact failure point (seam, eye, limb). Run three trials for repeatability. Example log line: "Trial 2 – stuffing exposed at neck after 8 tugs."
Repairs
Quick how-to tips:
- Backstitch (a strong overlapping stitch for durability): stitch along the seam, lock the first and last stitches, then trim threads. Use polyester thread (strong and less likely to snap).
- Ladder stitch (invisible seam stitch): weave the needle through folded edges so the repair hides on the outside. Great for keeping toys looking tidy.
- Trim stray threads close to the knot and double-knot repaired ends so they don’t snag.
- For loose glued-on bits, remove glue residue, then either embroider the feature (thread-made eyes or nose) or sew on a replacement securely.
A few quick safety notes: test repairs by hand before giving a toy back to a chewer, and keep suspicious toys out of unsupervised reach.
Worth every paw-print.
Abrasion, chewing simulation and puncture testing you can do at home
Want a quick, hands-on way to check if your cat toy will survive playtime? Try this simple at-home protocol. Take dated before-and-after photos so you can see what changed. Ever watched your kitty attack a toy and wondered if it will last? This helps answer that.
Tools list:
- Sandpaper (120-240 grit) (coarse paper used to wear a surface).
- Blunt probe (rounded pencil eraser or short plastic rod).
- Spray bottle with water or a cat-safe saliva substitute (a water-based spray that mimics moisture).
- Camera or phone for dated photos.
- Small towel for handling during dry cycles.
Step-by-step checks
- Take a before photo. Name it like "2026-01-17_before.jpg" so your files are easy to sort. Snap a clear shot of the test spot and note the date.
- Abrasion test: Give 20-50 consistent sandpaper strokes on a hidden seam or the underside. Keep the strokes even and in one direction. Count them so you can repeat the same number next time.
- Puncture test: At three separate spots, press the blunt probe straight in with steady pressure. Don’t twist. Just press as if a curious paw were poking it.
- Saliva-soak cycles: Spray the same test spots quickly three times, letting the moisture sit for a few seconds each time. Think of this like a quick lick session, then let the toy dry completely in open air or sunlight.
- Dry and sniff: After the toy is fully dry, sniff each sample for any lingering odor. Yep, give it a little whiff. It tells you if moisture got trapped inside.
Log what you see
Take an after photo named "2026-01-17_after.jpg". Write a short note for each spot, for example: "thinned fabric," "small hole at probe 2," or "no change." Keep the before-and-after photos together so you can compare over time and decide if the toy is still safe to play with.
Quick tips
- Test on a hidden area so your cat still loves the toy.
- Do the checks in the order above for a consistent record.
- If stuffing leaks or fabric keeps thinning, retire the toy. Worth every paw-print.
Washing machine, dryer and water-resistance tests for cat toy durability at home
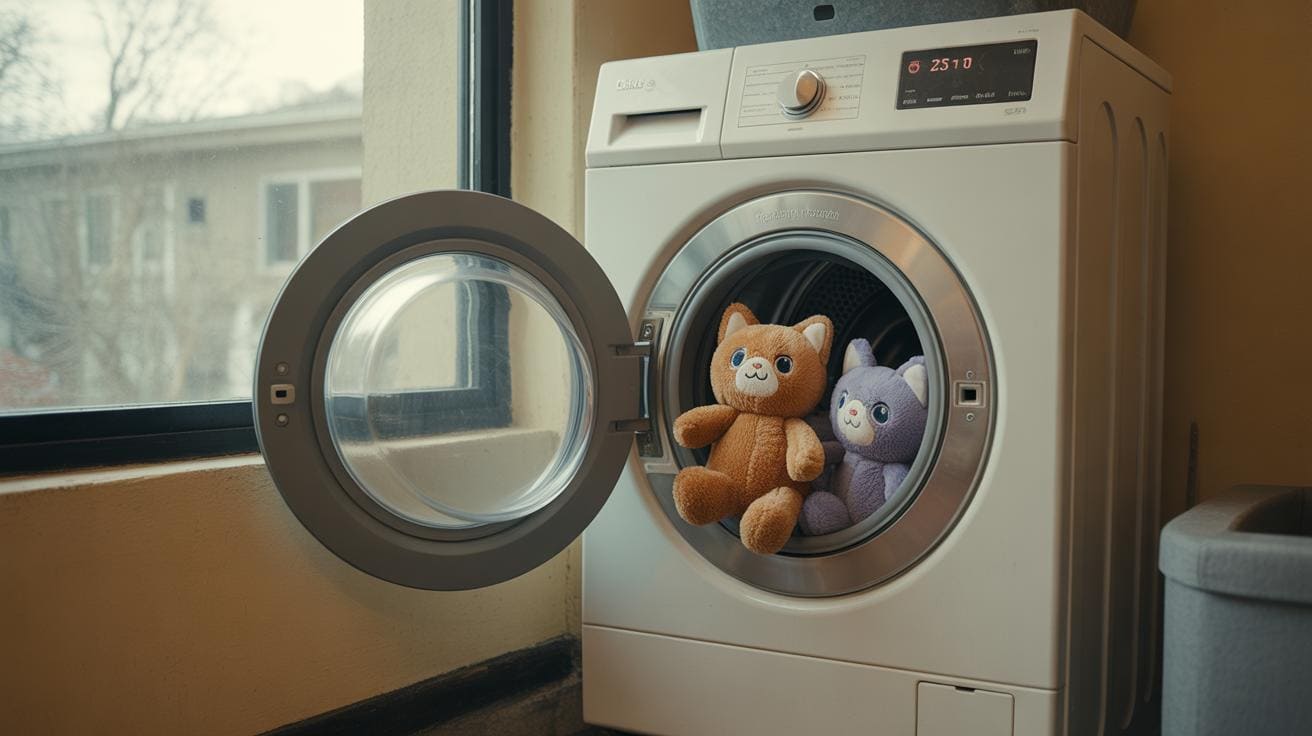
A quick washing machine test shows if plush and fabric toys actually survive the laundry or start shedding tiny, dangerous bits. Use a gentle cycle for plush, cold water for toys with adhesives (glue), and skip dryer heat for glued or stuffed toys unless the label explicitly says it’s okay. Wipe rubber and plastic toys clean to remove grime and bacteria; wet testing can reveal mold or mildew, so let toys dry completely before storing.
Run one wash cycle first as a trial. For tougher toys try one to three cycles, and inspect after each run. Take a date-stamped before photo and an after photo with your phone so you can compare, and jot down any loose threads, torn seams, stuffing compaction (stuffing that’s flattened or packed), softened glue, or lingering smells. Food-dispensing toys need a thorough rinse and full drying so moisture does not hide in crevices and cause mildew.
For a safe dryer check, use a short low-heat tumble only if the toy label allows it, and watch for trim or glue coming loose. A simple water-resistance test is to spray seams and hidden pockets, then feel inside for trapped dampness after the toy dries. Air-dry plush toys in the sun or on a rack, and store clean toys in a dry bin between play sessions so they stay fresh.
A few practical tips: pop small fabric toys into a mesh laundry bag to protect them and your machine, use mild detergent, and never use bleach. Inspect rubber or silicone (flexible, non-toxic material) toys for cracking or sticky breakdown after wetting, and check plastic toys for loose small parts and battery compartment leaks. Your cat’s whiskers will twitch when a toy still looks and smells like playtime , that’s the goal, right?
Worth every paw-print.
| Material | Wash setting | Dryer allowed? | Notes |
|---|---|---|---|
| Plush / fabric | Gentle cycle, cold water | Low heat only if label says safe | Check seams, remove glued bits (adhesives), air-dry to avoid mildew; use mesh bag |
| Rope / sisal | Hand wash or gentle cycle in mesh bag | Air-dry recommended | Sisal (natural fiber) may fray or shrink; inspect for loose strands and loose knots |
| Rubber / silicone | Wipe or rinse with warm soapy water | No dryer | Check for cracking or sticky breakdown after wetting; avoid high heat |
| Plastic / hard toys | Wipe clean or top-rack dishwasher if label allows | Air-dry | Inspect small parts and battery compartments for leaks or looseness; rinse food-holding crevices |